

Gardening- Cheaper than therapy and you get tomatoes! – Author Unknown
There are so many benefits to gardening besides just the fresh produce. Gardeners are known to live longer and I know many elderly people who still spend hours gardening each week… in their 90s!
It might be the abundance of vitamin D, the beneficial organisms in the soil, the exercise, or even just the time in nature. But gardening certainly has its benefits.
I prefer not to wear gloves when I garden so I can feel the plants and soil. I feel comfortable doing this since we use organic pest control and fertilizer options. Sometimes though it can leave me with cracked or dry hands.
The Magic of Salves
Salves are nourishing, oil-based ointments often infused with beneficial herbs to speed healing. Unlike lotion which uses a blend of oils and water for hydration and moisture loss, they’re oil and wax-based. You can use different oils depending on what you want your salve to do. Coconut oil, avocado oil, olive oil, and even rosehip seed oil are some of my favorites to use.
I use salves often for various purposes. From cracked heals, to stretch marks, to drawing out splinters… salves are a mainstay in our home. I have salves for hand care and one specifically for dry cuticles.
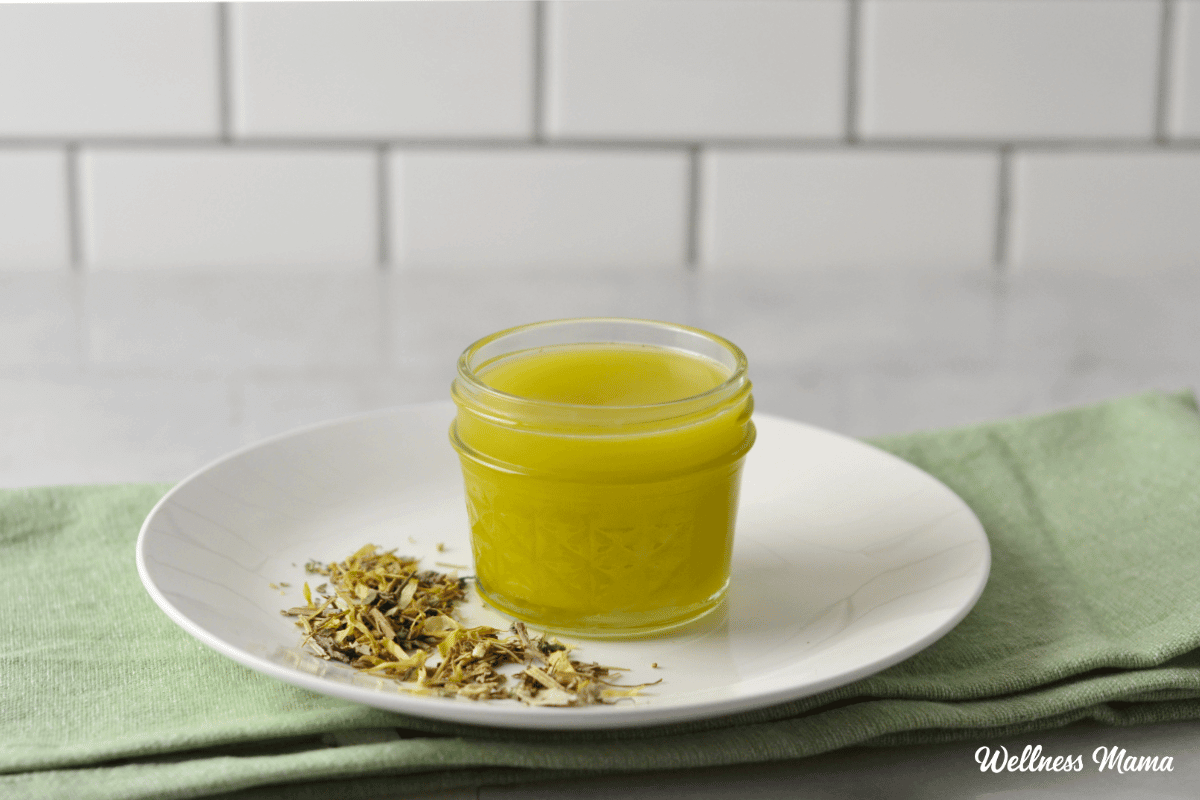
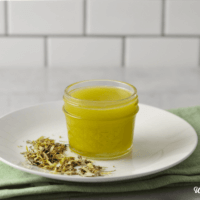
Gardeners Hand Salve Recipe
This particular salve has many soothing herbs that help nourish dry skin and quickly heal any small cuts from gardening. It also leaves hands silky and soft, even if you aren’t a gardener. The dark green color of this salve comes from the many herbs that are infused into the oils and it has a delicious earthy and medicinal scent.
I prefer to make salves with dried herbs, as this reduces the chance of spoilage since no water is introduced to the oils from the leaves of the plants. Salves can also be made with essential oils, but I’ve found that this infused version is more effective and less likely to sting eyes if you accidentally rub them. Although I do add a little lavender essential oil to boost the healing properties.
Herbs to Use
You can use many different restorative herbs here, but I used these:
- 1 teaspoon dried comfrey leaf (optional)
- 2 Tablespoons dried plantain leaf (herb-not banana!)- You might be able to wildcraft this in your backyard.
- 1 Tablespoon dried calendula flowers
- 1 teaspoon dried yarrow flowers
- 1 teaspoon dried rosemary leaf
Before You Begin: Infuse the Herbs Into the Oil
This is an important step for making this salve effective. It takes a while, and there are two ways to infuse the herbs, depending on how much time you have.
I use olive oil, but you can also use another liquid carrier oil, like avocado or sweet almond. Coconut oil can also work if using the one day infusion option, but you would want to reduce the beeswax in the hand salve recipe.
Option 1: One Day Option
If you want to make your salve quickly and don’t want to wait weeks for the herbs to infuse, you can speed up the process in a double boiler.
- Place 1 cup of olive oil (or other carrier oil) in the top of a double boiler.
- Add a few inches of water to the bottom and turn the stove on medium heat.
- Bring to a simmer and reduce to low.
- Simmer for 3-4 hours or until the oil has turned very dark green.
- Strain the herbs out of the oil using cheesecloth and keep the oil in a clean, air-tight container.
Option 2: Longer Option
If you have the time and patience, here’s how to do a slower infusion.
- Place the herbs and 1 cup of olive oil (or other carrier oil) into a pint-size glass mason jar with an air-tight lid.
- Leave for at least 3 weeks to give the herbs time to infuse and shake occasionally. If it’s warm enough, this mixture can be left in the sun to create a solar-infused oil.
- Strain the herbs out of the oil using cheesecloth and keep the oil in a clean, air-tight container.
Once you’ve strained the oil you’re ready to make your hand salve!
Gardeners Hand Salve
Equipment
- 8 ounce glass jar (or metal tins)
Materials
- ½ cup herb-infused oil
- 1 TBSP beeswax pellets (about 1/2 ounce)
- 2 TBSP shea butter
- 20 drops lavender essential oil (optional)
Instructions
- Melt the beeswax, shea butter, and herb-infused oil in a double boiler until melted. You can also use a heat-safe glass bowl on top of a pot if you don't have a double boiler.
- Remove from heat and add the lavender essential oil, if using.
- Quickly and carefully pour the mixture into a small glass jar or tins.
- Cool in the refrigerator to help prevent the shea butter from turning grainy.
- Use as needed after gardening or anytime your hands need some extra TLC.
Notes
More Salve Recipes to Dry
These salve recipes cover a wide variety of skincare needs with botanical oils and waxes. Plus they’re free of parabens, phthalates, and other unwanted chemicals since you’re in control of the ingredients list!
- Lip Balm Salve
- Chickweed Salve
- Homemade Healing Salve
- Peppermint Lip Balm Recipe (like Burt’s Bees)
- Black Drawing Salve
Do you garden? Ever used a moisturizing hand cream or salve to help hard-working hands? Share below!

Leave a Reply