

Fermenting is an age-old way of preserving foods and increasing their nutritional value. Turning a few pounds of cabbage into sauerkraut is one of the easiest fermented foods to master. We love it as a side dish, on top of hot dogs, or even as a soup topping.
Why is this sauerkraut better for you? During fermentation, cabbage produces billions of beneficial bacteria. Because it’s homemade (and not pasteurized like in the grocery store), the bacteria are still alive and ready to help our gut flora.
Homemade sauerkraut is one of the cheapest and easiest ways to add probiotics to our diets!
Sauerkraut: Why Make It from Scratch?
In short, it’s cheaper, healthier, and oh so much tastier!
Being the ¼ German that I am, I’ve always had a love of sauerkraut. The problem is, short of authentic German restaurants, good sauerkraut is hard to find. The logical solution, of course, was to make my own. Sauerkraut was the first thing I was brave enough to try to ferment, and it will always have a special place in my heart (and on my counter).
Sauerkraut has all the benefits of traditional fermented foods, including the abundance of natural probiotics. Lactic acid fermentation is what makes kraut. In other words, beneficial Lactobacillus bacteria do the hard work of breaking down the cabbage into its delicious and salty final product.
Manufacturers often cook store-bought sauerkraut, killing the beneficial bacteria. The few good brands, like Bubbies, are great, but expensive.
The Kraut-Making Process: Sauerkraut 101
Sauerkraut simply means “sour cabbage” in German, but making kraut does so much more than just make cabbage sour!
As I mentioned, the Lactobacillus bacteria are the active workers in the process. These bacteria occur naturally in fruits, veggies, and even on our skin and in our bodies. They’re generally considered harmless and even beneficial. Lactobacillus also have two major properties that make them perfect for fermentation:
- They can survive in an anaerobic environment (oxygen-free)
- They handle salt well, unlike many other types of bacteria
This allows us to ferment the cabbage under a brine in an oxygen-free environment without killing the Lactobacillus. Many other types of bacteria don’t handle salt or lack of oxygen well. The lactic acid fermentation process allows the good bacteria to stay and flourish while discouraging the bad bacteria.
If it sounds complicated so far, never fear … the recipe itself is a snap!
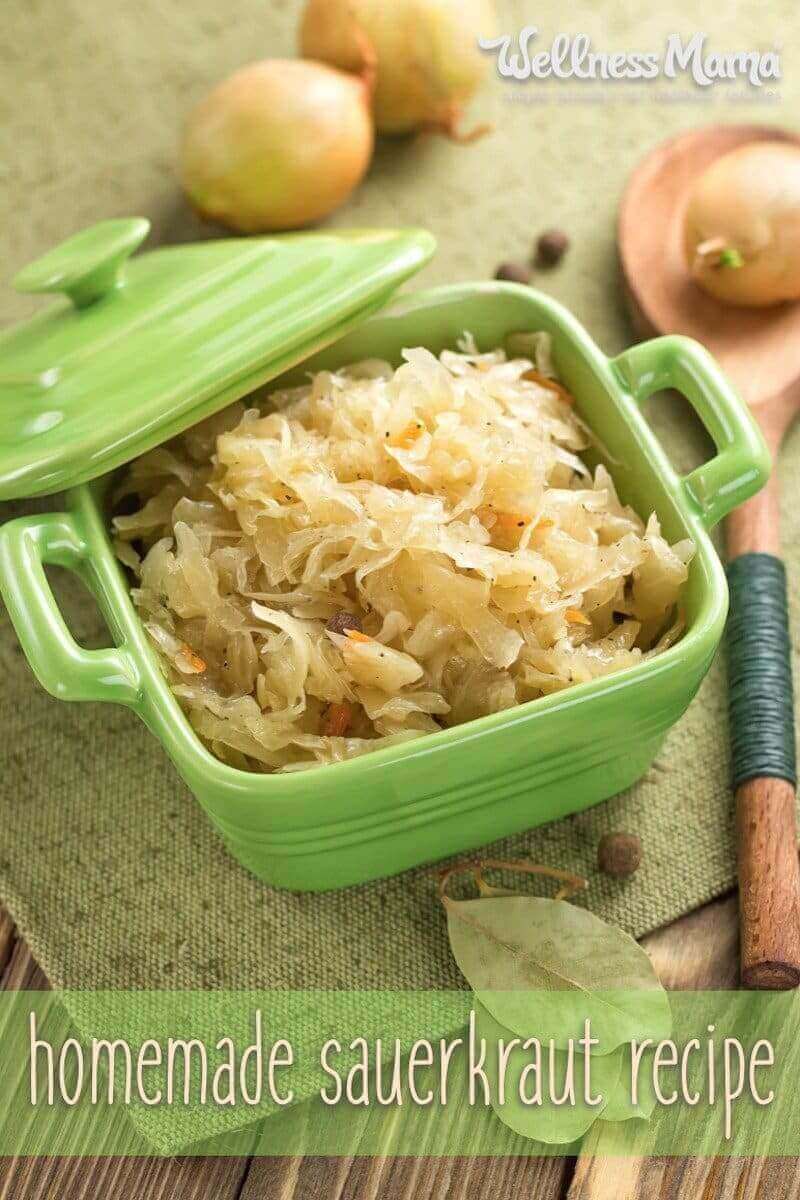
Homemade Sauerkraut Recipe
Servings
Equipment
- Fermentation crock with weight (optional)
- Quart-size mason jars (optional)
- Fermentation weights (if using the Mason jars)
Ingredients
- 2 heads cabbage (about 5 lbs)
- ¼ cup salt (see how to tips below)
- 1-2 TBSP caraway seeds (optional)
Instructions
- Wash all equipment, work surfaces, and your hands in warm soapy water.
- Remove the outer leaves and cores from the heads of cabbage. (Compost them if you can!) Slice the cabbage into quarters for easier slicing. Then, thinly slice cabbage into very thin ribbons with a mandolin, knife, or food processor.
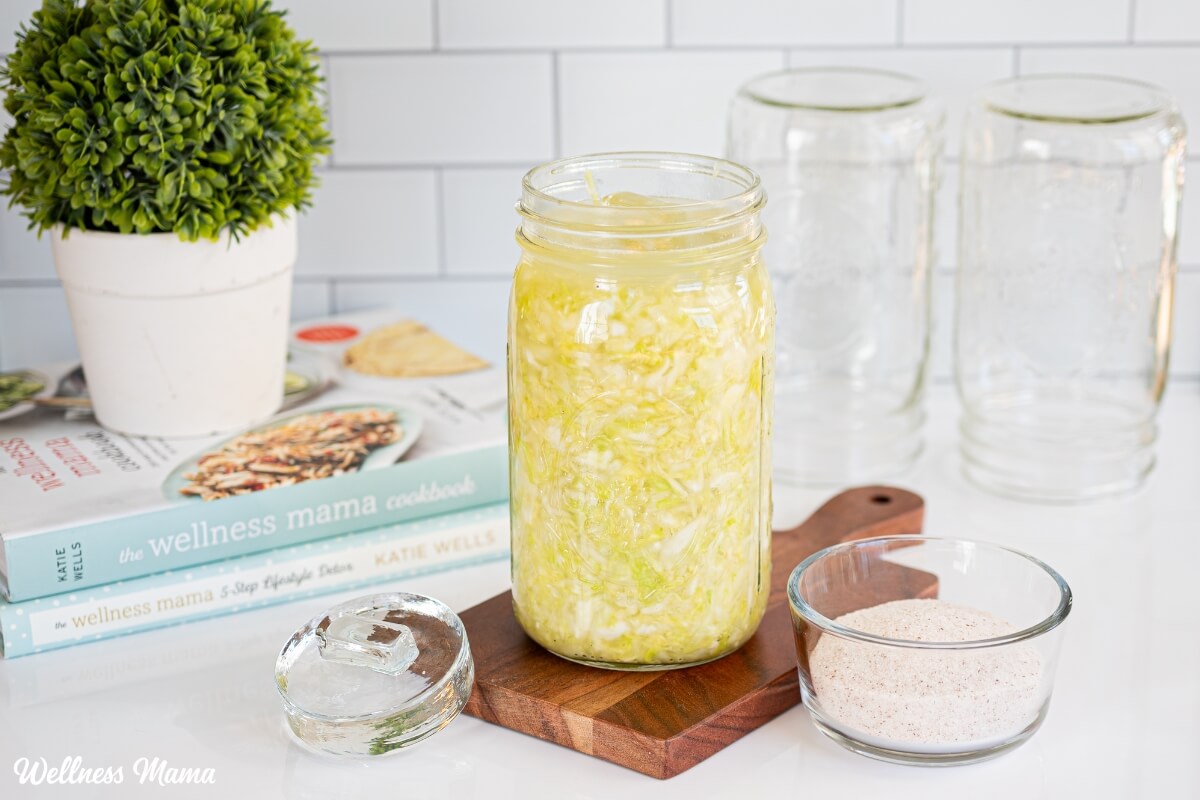
- Place the thinly shredded cabbage in a clean large bowl and sprinkle the sea salt on top of the cabbage. Knead and squish the cabbage leaf/salt with your hands for about ten minutes. At first, it won’t seem like it’s doing anything, but be patient. After a few minutes, the cabbage will start releasing liquid and by the end, there should be enough liquid in the mixing bowl to cover the cabbage in the crock or jar. Add the caraway seeds at this point if using them.
- Tightly pack the cabbage and caraway seeds (if using) into the jars or fermentation crock. Pour any liquid from the bowl into the top of the jar. If needed, add just enough water to make sure the brine covers the cabbage entirely. If the cabbage is fresh, no liquid may be needed, but don’t worry if you have to add a little water.
- Add the fermentation weights and fermentation seal (or use the fermentation crock as directed). If using a basic mason jar, you can also do this by adding a smaller jar that just fits inside the lid of the mason jar and covering both jars with a cloth and a rubber band.
- Let it ferment at room temperature for 2-5 weeks. Fermentation will begin within a day and take 2-5 weeks depending on temperature and desired tartness. After 2 weeks, check for desired tartness. The sauerkraut is technically slightly fermented after only a few days, but the best flavor seems to be at the 2-3 week mark. Taste is the best measure here, so check it often and stop the ferment when you get the desired taste.
- Once done the fermented sauerkraut can be eaten right away, or store in the refrigerator for up to six months.
- Enjoy! Sauerkraut is delicious on its own or added to salads, soups, or on top of meats.
Nutrition
Notes
The Right Equipment Makes a Big Difference
Sauerkraut is tough to mess up, but the right equipment makes the process so much easier! Since kraut is one of the most budget-friendly real foods out there (along with sardines), I’ve found it’s worth investing in some inexpensive equipment. This way it’s easier to make it a regular part of my diet. There are several different methods to choose from.
Option 1: A Good Ol’ Mason Jar
The most basic method of sauerkraut-making is done in a simple glass jar. Even a quart-size mason jar will work. Many people choose a half-gallon size to make more at once. You can use a plastic bag filled with water to seal the jar from the air. Though considering my feelings about plastic, I highly discourage this method. Instead, I recommend getting these pieces of equipment:
- Glass fermentation weights – These weights keep the cabbage under the water level of the brine, which protects the fermentation environment. You can also do this with a small glass jar filled with water or rocks, as long as it fits inside the larger jar.
- Fermentation Lids – There are a lot of options available for this. I’ve used and love these silicone fermentation lids.
Whichever equipment you pick, I encourage you to have some kind of weight and some kind of fermentation lid. You can also use this equipment when making kimchi and pickles!
Option 2: A Fermentation Crock
I prefer the more traditional method of making sauerkraut in a fermentation crock. For one thing, you get to use a cool-looking traditional stoneware fermentation crock (like this one). I find this method easier and a high-quality crock costs less than the weights, lids, and jars you need for the mason jar method.
If you aren’t sure you’ll love making sauerkraut, it might be best to start with the mason jar method. If you like it, a fermentation crock will greatly simplify the process.
How to Make Homemade Sauerkraut Tips
A few tips for making the best homemade sauerkraut:
- Use fresh cabbage. Red cabbage, green cabbage, or any color will work. Opt for fresh cabbage for a crispier finished sauerkraut. I love making fermented cabbage with fresh-picked cabbage from my garden or farmers market.
- Make sure everything is clean. Since this process relies on a certain type of bacteria for fermentation, it’s important to remove as many unwanted bacteria as possible. No need to bleach anything (please don’t!) However, ensure the jar or crock has been washed well in warm, soapy water, and wash your hands well too!
- Get rid of the air. As explained above, the beneficial bacteria need an anaerobic environment to ferment correctly. Using any of the methods I explained above will accomplish this.
- Get the salt right. This recipe does require salt. It’s necessary not just for taste, but for proper and safe fermentation. I’ve tested it and it can be done with as little as 1 tablespoon per quart of sauerkraut (2 tablespoons total for this recipe), but doesn’t work well with less than that. The amount of salt used depends on how much cabbage you have.
- Salt ratio. The salt should be at a ratio of about 2% by weight. I weigh the cabbage (in grams) and then calculate 2% of the cabbage weight to use in salt. Any high-quality salt will work but I find the best results when I use this one.
- Moderate temperature. In my experience, kraut best ferments at around 64-67 degrees, though anything in the 60-70 degree range works well. Cooler and fermentation is too slow, higher and it gets mush fast. Cabbage is often freshest in cooler months, and counter temperatures are perfect at these times. In warmer months, I often place kraut near air conditioning vents to keep it cool or make sure it’s in a cool, dark corner of the pantry.
- Make it stop! Once you’ve achieved the desired level of fermentation, move it to the refrigerator to stop the fermentation. It will store for up to 6 months if kept cool and with the kraut below the brine.
Sauerkraut Health Benefits
Now that you’ve made some delicious kraut, you get to enjoy its many benefits. Sure, it’s delicious, but it also has some other nutritional benefits:
Probiotic Powerhouse
If high quality probiotics aren’t in the budget, just make some sauerkraut. It contains billions of naturally occurring beneficial bacteria. Probiotics are thought to be beneficial in supporting the natural balance of bacteria in the gut. Some studies even indicate that probiotics and gut health are important for mental health, digestive health, and proper immune function.
Vitamins B & C
Cabbage is a natural source of B vitamins and vitamin C. The process of fermentation increases the availability of these nutrients, potentially making sauerkraut more nutritious than the original cabbage itself.
Good for Digestion
Sauerkraut is included in protocols like the GAPS diet to seal and heal the gut. Many people report that sauerkraut soothes and helps improve their digestion.
Antioxidants
Sauerkraut is a good source of lutein and zeaxanthin. These antioxidants are well-studied for their benefits to the eyes.
Do you like sauerkraut? Ever tried to make your own? Share below!

Leave a Reply