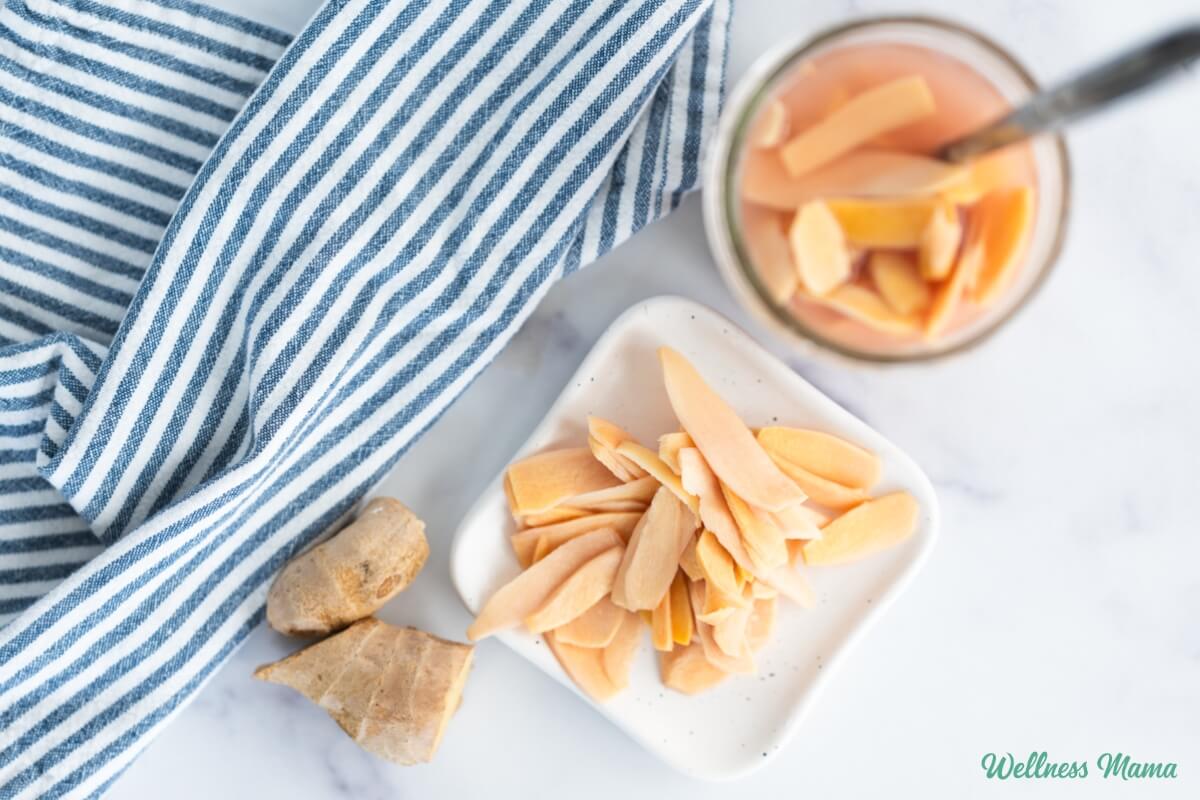
If you’ve ever been to a sushi restaurant you’ve probably seen the little slices of sushi ginger served alongside the meal. They’re used as a palate cleanser in Chinese and Japanese cuisine. You can also find jars of them at your local grocery store, but homemade pickled ginger tastes so much better!
Pickled Ginger (Gari)
Known in Asian cuisine as gari or beni shoga (Japanese pickled ginger), this condiment is sweet, sour, and a little bit spicy. Traditionally it’s eaten in between bites of sushi or sashimi (thinly sliced raw fish). The idea is to help your tongue better taste the different fish flavors!
You don’t have to eat out at a fancy sushi restaurant though to have pickled ginger. The store-bought versions frequently have things like aspartame, artificial food dyes, and sketchy preservatives so it’s not something we use. Making pickled ginger at home is really easy and it lasts for months in the fridge.
The Best Ginger to Use
I use mature ginger root a lot in cooking, teas and drinks, and herbal remedies for its amazing health benefits. Mature ginger is very fibrous and a lot spicier than young ginger, so it’s not the best option here. You want to look for young ginger. The skin is lighter in color and sometimes they’ll still have the pink tip attached. You can often find these in larger health food stores or even farmer’s markets.
When young ginger is pickled in rice vinegar it can naturally turn a light pink color. That’s why the grocery store versions often have artificial red food dye in them. So don’t be alarmed if your pickled ginger turns pink in the fridge!
How to Make Pickled Ginger
The process is fairly simple, but it does take a little time. I use apple cider vinegar for a lot of things, but it’s strong and can overpower the delicate flavor of the ginger. Rice vinegar or rice wine vinegar is traditionally used and has a much milder taste that highlights the ginger.
Most recipes also call for white sugar and kosher salt. I like using organic cane sugar as a less refined alternative to bleached, white sugar though. And I’ve found that mineral-rich sea salt works just as well (if not better!) than refined salt.
The first step is to peel the ginger. The skin is thin enough that using a knife or vegetable peeler is overkill, but a spoon works perfectly to scrape it clean. After you’ve thinly sliced it, the next step is to remove some of the moisture with salt. This helps the ginger better absorb the flavor of the pickling liquid.
The hardest part is waiting at least a week before eating it! Like most pickles, it needs some time for all of the flavors to marinate.
Here’s how to make your own pickled ginger!

Homemade Gari Pickled Ginger Recipe
Servings
Equipment
- Vegetable peeler
- Colander
- Tea towel
Ingredients
- 8 ounces fresh young ginger root
- 1 and ½ tsp sea salt
- 1 cup rice vinegar
- ⅓ cup organic cane sugar
Instructions
- Peel ginger with a spoon and cut into thin slices. You can use a mandoline but a vegetable peeler works best.
- Place the sliced ginger in a colander, sprinkle with salt, and let rest for 30 minutes to sweat. Toss occasionally.
- Spread sliced ginger out on a clean towel to remove excess moisture.
- In a small saucepan over medium heat, combine rice vinegar and sugar. Stir until the sugar dissolves and bring the vinegar mixture to a boil.
- Transfer the pieces of ginger to a heat-proof glass jar.
- Pour the pickling liquid into the glass jar and allow it to cool to room temperature.
- Transfer the jar to the refrigerator and let it rest for at least one week before using.
Nutrition
Notes
What to Eat With Pickled Ginger
You don’t have to have sushi to eat pickled ginger! It goes with a lot of Asian flavored main and side dishes. Try it with some of the following:
- Vegetable stir-fried rice
- Vietnamese spring rolls
- Asian ginger salmon
- Sweet and sour chicken
- Beef and cabbage stir fry
What are your favorite dishes to eat with pickled ginger? What would you try it with? Leave a comment and let us know!


Leave a Reply