
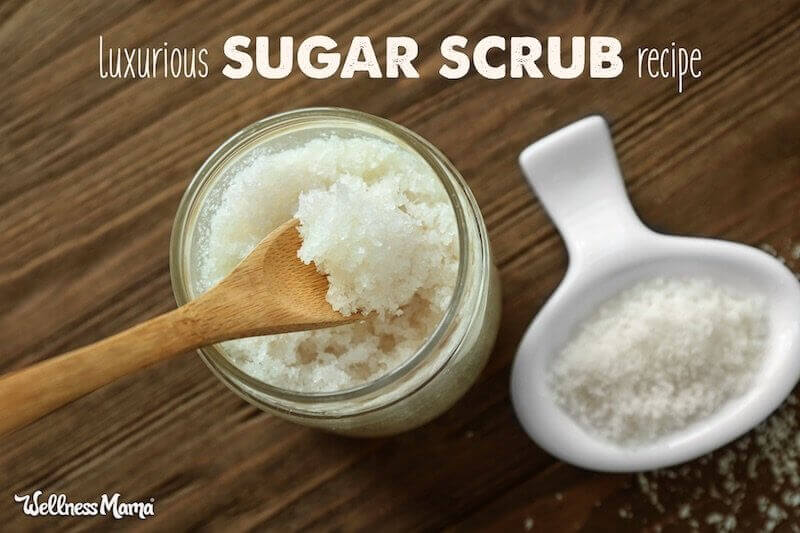

Sugar may not be good for your insides, but a sugar scrub can be very good for your skin. Those expensive scrubs in department stores and spas… they cost pennies to make! Sugar scrubs are a simple beauty recipe with countless variations, and they can be incredibly moisturizing and exfoliating to the skin.
I use scrubs on my face, body, and (especially) feet to slough off dead skin and moisturize. The result? Silky skin with minimal effort!
If you are new to making your own beauty products (or even if you are a veteran natural beauty alchemist) I highly encourage you to try out these homemade sugar scrub recipes.
Why Use Sugar Scrub?
Taking time out from mom-life to take care of ourselves isn’t always easy, but let’s face it… skin needs TLC to stay healthy. Switching to more natural cosmetics and beauty products may mean leaving some of your favorite products behind.
Not to worry! In my experience a natural skin care regime can work even better (and certainly is better for you). In many ways natural beauty products have simplified my routine since I can mix up what I need with simple ingredients I already have on hand.
Here’s the highlights of my skin care routine these days:
- Dry brush before showering (here’s how to do it)
- Exfoliate and moisturize with a scrub in the shower
- Apply a natural lotion post-shower
- Oil cleanse my face, adding a facial sugar scrub once or twice a week for exfoliation
- Finish with a quality nourishing face serum (this one is my absolute favorite)
I make up for the money I invest in a few high-quality store-bought beauty products by making the rest myself at home. Sugar scrub is so easy and fun to make, it’s one item I’ll never buy.
These also make a great DIY gift idea! Just put them in a cute mason jar and apply a decorative label or tag. Now you have a pampering and practical gift for an expecting/new mom, or for Christmas gifts or Mother’s Day gifts!
Men get dry skin, too. Make a manly scented version by trying some of the suggested essential oil combinations in this post.
DIY Sugar Scrub Recipe
Equipment
Materials
- 1 cup granulated sugar (white or brown)
- ½ cup olive oil (or coconut oil)
- essential oils (optional)
Instructions
- Combine all the ingredients and stir to combine.
- Store in an airtight container, such as a wide-mouth mason jar.
Notes
In the shower, scrub your skin with 1 tablespoon of the mixture and rinse well. It will leave your skin feeling like silk. Goodbye dry skin!
Sound simple? It is!
Sugar Scrub Variations
Ready to mix it up? Change your sugar scrub to suit the season. All of these variations use simple ingredients found at most grocery stores.
- Pumpkin Pie Scrub: 1 cup of brown sugar, ½ cup coconut oil, ½ tsp vitamin E oil, and ½ tsp pumpkin pie spice (or just ½ tsp cinnamon)
- Vanilla Brown Sugar Scrub: 1 cup brown sugar, ½ cup almond oil, ½ tsp vitamin E oil and 1 tsp real vanilla extract
- Lemon Sugar Scrub: Great hand scrub for after washing dishes! 1 cup white sugar, ½ cup olive oil, ½ tsp vitamin E oil, 15-20 drops (or more) of lemon or orange essential oil
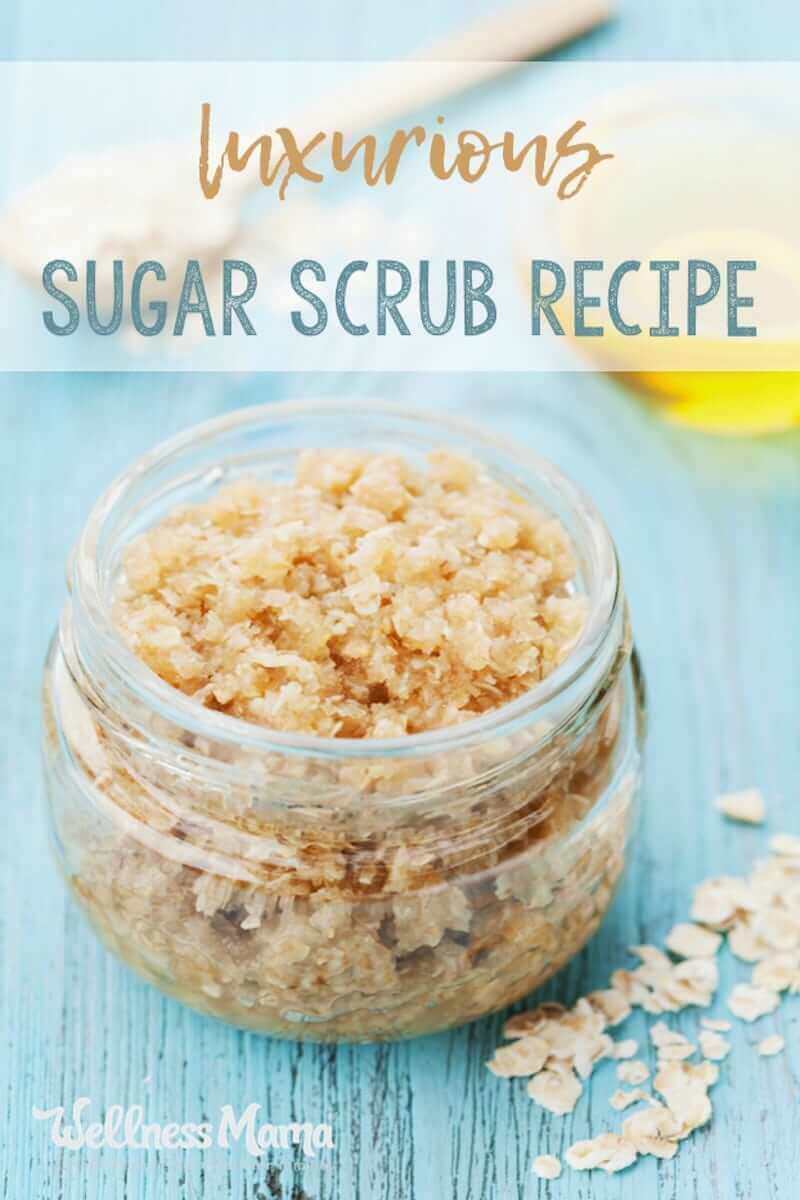
- Gentle Lavender Sugar Scrub for Face: 1 cup white sugar, ½ cup almond oil, ½ tsp vitamin E oil, ½ tsp real vanilla extract, and 15 drops lavender essential oil. Or make this gentler oatmeal version.
- Vanilla Latte Sugar Scrub: Need I say more? Seriously… make sure you have coffee on hand to make a vanilla latte because it will have you craving the real thing. Find the recipe here.
- Sugar Cookie Lip Scrub: Better than lip balm, in my opinion, since it exfoliates and moisturizes in one step. Here’s the recipe.
- Mint Chocolate Lip Scrub: I also recently came up with this flavor that will leave you with deliciously smooth lips. Get the recipe here.
- Homemade Foot Scrub with Magnesium: Perfect for pedicure season, this foot scrub is therapeutic as well with the addition of magnesium.
- Cumin Sugar Scrub for Face or Body: Not all sugar scrubs have to smell like dessert. This more exotic scrub is packed with antioxidants for glowing skin.
- Himalayan Salt Scrub: Salt is typically coarser than sugar and slower to dissolve, which makes this salt-based scrub recipe great for heavy-duty exfoliation. (If you have sensitive skin, stick to sugar scrubs.)
- Sugar Scrub Cubes: Make this cute and compact version of a scrub in single-use cubes. No mess and you can even make them colored with purifying French rose clay. Here’s how to make them.
- Chai Sugar Scrub: All the scents of your favorite chai latte in a luxurious moisturizing scrub! Here’s the recipe.
- Gingerbread Body Scrub: My favorite recipe to give at Christmas. Get the recipe here.
How to Store
These last on the counter for up to 2 months (or more). Take care that extra water doesn’t get into the scrub when you use it as it won’t last as long or work as well.
One warning: these smell good enough to eat! Actually, they are good enough to eat, but don’t… sugar is bad for your intestines!
This article was medically reviewed by Madiha Saeed, MD, a board certified family physician. As always, this is not personal medical advice and we recommend that you talk with your doctor.
Ever made your own sugar scrub or facial products? What is your favorite combination? Let me know below!

Leave a Reply