Gardeners Hand Salve Recipe

Katie Wells Avatar

Reading Time: 4 minutes

This post contains affiliate links.

Read my affiliate policy.

gardener's hand salve
Wellness Mama » Blog » Natural Remedies » Gardeners Hand Salve Recipe

Gardening- Cheaper than therapy and you get tomatoes! – Author Unknown

There are so many benefits to gardening besides just the fresh produce. Gardeners are known to live longer and I know many elderly people who still spend hours gardening each week… in their 90s!

It might be the abundance of vitamin D, the beneficial organisms in the soil, the exercise, or even just the time in nature. But gardening certainly has its benefits.

I prefer not to wear gloves when I garden so I can feel the plants and soil. I feel comfortable doing this since we use organic pest control and fertilizer options. Sometimes though it can leave me with cracked or dry hands.

The Magic of Salves

Salves are nourishing, oil-based ointments often infused with beneficial herbs to speed healing. Unlike lotion which uses a blend of oils and water for hydration and moisture loss, they’re oil and wax-based. You can use different oils depending on what you want your salve to do. Coconut oil, avocado oil, olive oil, and even rosehip seed oil are some of my favorites to use.

I use salves often for various purposes. From cracked heals, to stretch marks, to drawing out splinters… salves are a mainstay in our home. I have salves for hand care and one specifically for dry cuticles.

Gardeners Hand Salve Recipe

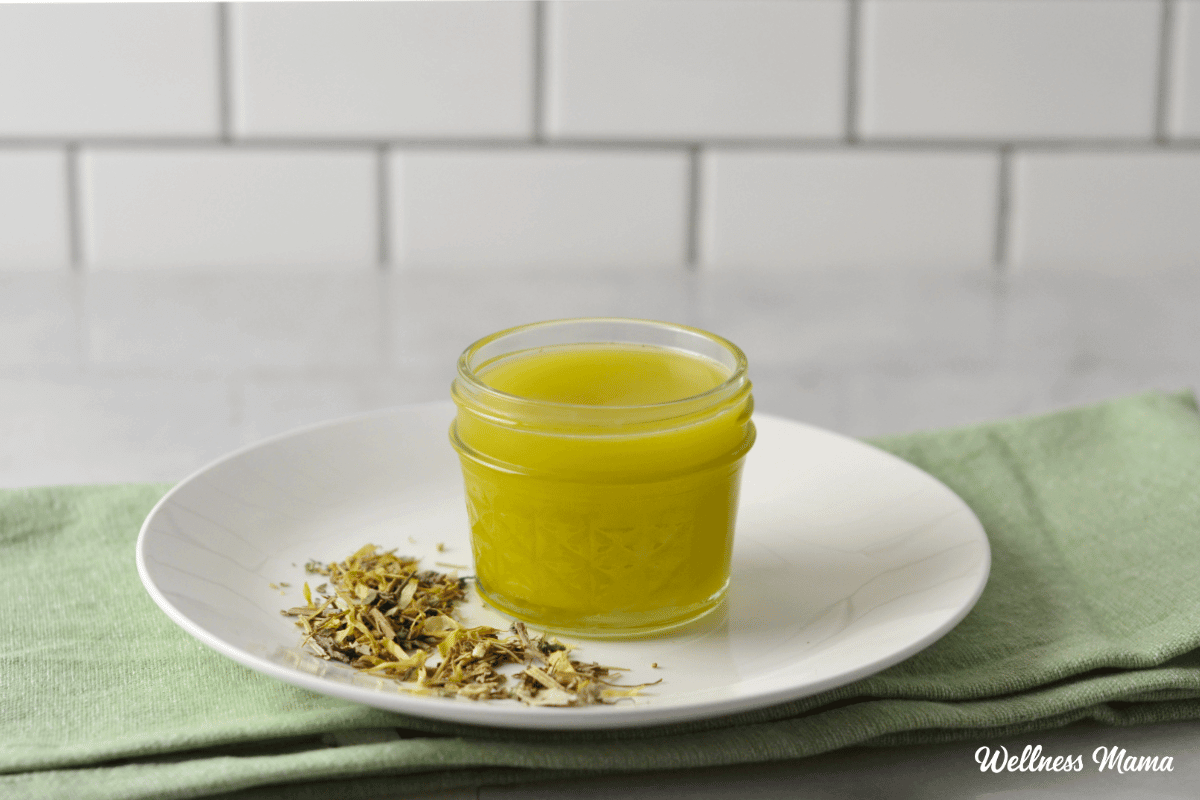
This particular salve has many soothing herbs that help nourish dry skin and quickly heal any small cuts from gardening. It also leaves hands silky and soft, even if you aren’t a gardener. The dark green color of this salve comes from the many herbs that are infused into the oils and it has a delicious earthy and medicinal scent.

I prefer to make salves with dried herbs, as this reduces the chance of spoilage since no water is introduced to the oils from the leaves of the plants. Salves can also be made with essential oils, but I’ve found that this infused version is more effective and less likely to sting eyes if you accidentally rub them. Although I do add a little lavender essential oil to boost the healing properties.

Herbs to Use

You can use many different restorative herbs here, but I used these:

Before You Begin: Infuse the Herbs Into the Oil

This is an important step for making this salve effective. It takes a while, and there are two ways to infuse the herbs, depending on how much time you have.

I use olive oil, but you can also use another liquid carrier oil, like avocado or sweet almond. Coconut oil can also work if using the one day infusion option, but you would want to reduce the beeswax in the hand salve recipe.

Option 1: One Day Option

If you want to make your salve quickly and don’t want to wait weeks for the herbs to infuse, you can speed up the process in a double boiler.

  1. Place 1 cup of olive oil (or other carrier oil) in the top of a double boiler.
  2. Add a few inches of water to the bottom and turn the stove on medium heat.
  3. Bring to a simmer and reduce to low.
  4. Simmer for 3-4 hours or until the oil has turned very dark green.
  5. Strain the herbs out of the oil using cheesecloth and keep the oil in a clean, air-tight container.

Option 2: Longer Option

If you have the time and patience, here’s how to do a slower infusion.

  1. Place the herbs and 1 cup of olive oil (or other carrier oil) into a pint-size glass mason jar with an air-tight lid.
  2. Leave for at least 3 weeks to give the herbs time to infuse and shake occasionally. If it’s warm enough, this mixture can be left in the sun to create a solar-infused oil.
  3. Strain the herbs out of the oil using cheesecloth and keep the oil in a clean, air-tight container.

Once you’ve strained the oil you’re ready to make your hand salve!

gardener's hand salve
Print
No ratings yet

Gardeners Hand Salve

This herb-infused hand salve is perfect for damaged, dry hands. Great for gardeners and anyone who is rough on their hands.
Active Time10 minutes
Cooling Time1 hour
Total Time1 hour 10 minutes
Yield: 5.5 ounces
Author: Katie Wells

Materials

Instructions

  • Melt the beeswax, shea butter, and herb-infused oil in a double boiler until melted. You can also use a heat-safe glass bowl on top of a pot if you don't have a double boiler.
  • Remove from heat and add the lavender essential oil, if using.
  • Quickly and carefully pour the mixture into a small glass jar or tins.
  • Cool in the refrigerator to help prevent the shea butter from turning grainy.
  • Use as needed after gardening or anytime your hands need some extra TLC.

Notes

Store in a cool, dry place and use as needed. I keep it in my pantry.

More Salve Recipes to Dry

These salve recipes cover a wide variety of skincare needs with botanical oils and waxes. Plus they’re free of parabens, phthalates, and other unwanted chemicals since you’re in control of the ingredients list!

Do you garden? Ever used a moisturizing hand cream or salve to help hard-working hands? Share below!

Katie Wells Avatar

About Katie Wells

Katie Wells, CTNC, MCHC, Founder of Wellness Mama and Co-founder of Wellnesse, has a background in research, journalism, and nutrition. As a mom of six, she turned to research and took health into her own hands to find answers to her health problems. WellnessMama.com is the culmination of her thousands of hours of research and all posts are medically reviewed and verified by the Wellness Mama research team. Katie is also the author of the bestselling books The Wellness Mama Cookbook and The Wellness Mama 5-Step Lifestyle Detox.

Comments

24 responses to “Gardeners Hand Salve Recipe”

    1. Jamie Larrison Avatar

      Fresh herbs infused in oil can cause the oil to spoil or grow mold more quickly because of their high water content. If all you have is fresh rosemary you can put it in the dehydrator or in the oven on a very low setting for a few hours first.

  1. Stephanie Avatar

    Hi Katie just a bit confused. Do you bring the water in the pan up to a simmer and leave on low or bring the olive oil with the herbs up to a simmer? Thank you 🙂

  2. Stephanie Avatar

    Hi Katie! How long can I store the herb infused oil for if I make extra but do not use it all up? Thank you so much 🙂

  3. Laura Avatar

    Quick note to make it easier for searching recipes- this is a balm (oil, wax, butter) not a salve (oil, wax)

  4. Fiona Avatar

    It’s going to be a bit greasy because of the ingredients. The answer is to use very little if it and massage it in well. I use this every day and it has helped my hands enormously but it takes quite a few minutes to be absorbed. It WILL be absorbed, though.
    Hope this helps.

  5. Julie Avatar

    Thank you for this recipe! I just made it and wondered if you had a suggestion to make it a bit less greasy?

  6. Breeze Avatar

    I tried this and I love how moisturizing it is! I also love how it sort of acts as a sealant (thank you, beeswax) so it doesn’t all wash off as soon as I wash my hands. It’s definitely on the softer side in comparison to something like Badger Balm but I don’t mind that a bit (less is way more). One thing I noticed is that it’s started to clump/separate a bit. By this, I mean the infused olive oil I used seems to be forming its own little pockets, and the harder components have formed these little harder flecks. I’ve seen this before in homemade balm-type recipes, but am not sure what causes it. I’ve kept it stored in my (very cool) bedroom since it was made. Do you have any idea why this might be happening and/or a solution? My initial thought was reducing the amount of infused oil and making the ratio more even… hmmm. I’d like to make tins of these for Christmas gifts so your feedback is much appreciated! Thanks!

  7. Liz E Avatar

    Why do you start with 1 cup of olive oil, but only use 1/2 cup in the recipe? Does it reduce while it is infusing?

    Also, how much does this make? What size jar do I need to store this recipe?

    1. Wellness Mama Avatar

      It does reduce while infusing, as some sticks to the herb. I also keep any remaining amount to make a healing lip balm. I store in 4 ounce tins and it makes several.

  8. Anne Avatar

    I’m making the body whipped soap but it’s not as fluffy as the picture all ingredients are right but it’s not fluffy

    1. Fiona Avatar

      I just bought all the ingredients today from my local health/natural food store – a real one not one in a mall. They were really cheap – about $10 for the whole lot and there’s enough for making this recipe 20 times over. Have already infused the herbs into the oil. What a great idea this is.

  9. STAR Guevara Avatar
    STAR Guevara

    I’m very instiered in home remedies in dry skin, stretch marks, mouthwash, anything made from the proudest in my home and safe a little money Im instead in. Thank You for time look forward to your information.

  10. Sara Avatar

    For the one day option, it does not say to add herbs. I assume that they are added to the oil at the beginning of the process.

    1. Sara B. Taylor Avatar
      Sara B. Taylor

      No, always add herbs/spices after you have heated the oil up enough for infusion. Once the oil is hot enough, then remove from heat and toss them in. Now you are infusing!!

      1. Karen B Avatar

        I disagree. You want the oils to infuse IN the oil over a long period of time. If you heat the oil and then place the herbs in after, it will cool too quickly to have much benefit. You warm the herbs and oil together, gently. I often will preheat my oven to 250, and while it’s warming up, I put my herbs and carrier oil in an oven safe container. I mix them a bit and once the oven is preheated, I place the container inside and TURN OFF THE OVEN. Do not open for 4-5 hours. They are now gently warmed and infused. Somwtimes, I repeat the process. For Arnica, I heat oven to 300 and then after I turn it off, don’t open the oven for 6 hours. I usually repeat, sometimes a couple times, sometimes with fresh herbs for a double strength oil. Regardless, you want to warm the herbs with the oil. 🙂

Leave a Reply

Your email address will not be published. Required fields are marked *

Recipe Rating