Table of Contents[Hide][Show]
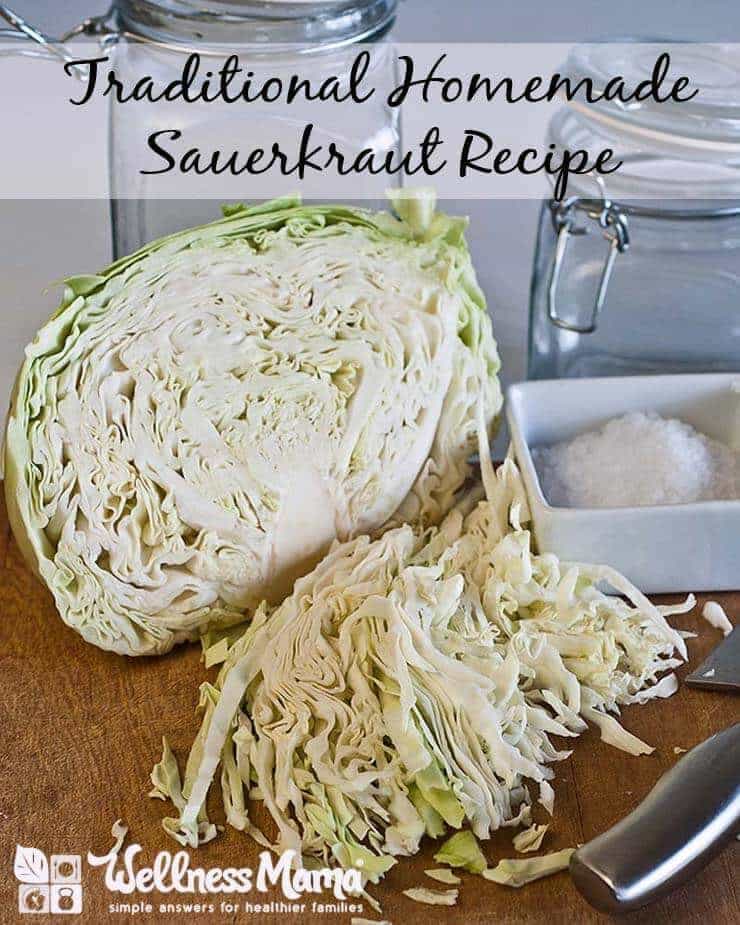
Fermenting is an age-old way of preserving foods and increasing their nutritional value. Turning cabbage into sauerkraut is one of the easiest fermented foods to master.
Why is this sauerkraut better for you? During fermentation, billions of beneficial bacteria are produced. Because it’s homemade (and not pasteurized like in the store), this bacteria is still present when we eat it and helps our gut flora.
In fact, homemade sauerkraut is one of the least expensive and easiest ways to add probiotics to our diets!
Sauerkraut: Why Make It from Scratch?
In short, it is cheaper, healthier, and oh so much tastier!
Being the ¼ German that I am, I have always had a love of sauerkraut. The problem is, short of authentic German restaurants, good sauerkraut is hard to find. The logical solution, of course, was to make my own. Sauerkraut was the first thing I got brave enough to try to ferment, and it will always have a special place in my heart and on my counter.
Sauerkraut has all the benefits of traditional fermented foods, including the abundance of natural probiotics. It is made using natural lactic acid fermentation. In other words, beneficial Lactobacillus bacteria do the hard work of breaking down the cabbage into its delicious and salty final product.
Store-bought sauerkraut is often cooked, killing the beneficial bacteria. The few good brands, like Bubbies, are great, but expensive.
The Kraut-Making Process: Sauerkraut 101
Sauerkraut simply means “sour cabbage” in German, but making kraut does so much more than just make cabbage sour!
As I mentioned, the Lactobacillus bacteria are the active workers in the process. These bacteria occur naturally in fruits, vegetables, and even on our skin and in our bodies. They are generally considered harmless and even beneficial. Lactobacillus also have two major properties that make them perfect for fermentation:
- They can survive in an anaerobic environment (oxygen-free)
- They handle salt well, unlike many other types of bacteria
This allows us to ferment the cabbage under a brine in an oxygen-free environment without killing the Lactobacillus. Many other types of bacteria don’t handle salt or lack of oxygen well. The lactic acid fermentation process allows the good bacteria to stay and flourish while discouraging the bad bacteria.
If it sounds complicated so far, never fear … the recipe itself is a snap!
The Right Equipment Makes a Big Difference
Sauerkraut is tough to mess up, but the right equipment makes the process so much easier! Since kraut is one of the most budget-friendly real foods out there (along with sardines), I’ve found that it is worth investing in some inexpensive equipment to make it a regular part of my diet. There are several different methods to choose from.
Option 1: A Good Ol’ Mason Jar
The most basic method of sauerkraut-making is done in a simple glass jar. Even a quart-size mason jar will work, though many people choose a half-gallon size to be able to make a little more at once. You can use a plastic bag filled with water to seal the jar from air, though considering my feelings about plastic, I highly discourage this method. Instead, I recommend getting these pieces of equipment:
- Glass fermentation weights – These keep the cabbage under the water level of the brine, which protects the fermentation environment. This can also be done with a small glass jar filled with water or rocks, as long as it fits inside the larger jar.
- Fermentation Lids – There are a lot of options available for this. I personally have used and love these silicone fermentation lids. If you want a fancier lid these are slightly more pricey, but work really well.
Whichever equipment you pick, I encourage you to have some kind of weight and some kind of fermentation lid. You can also use this equipment when making kimchi and pickles!
Option 2: A Fermentation Crock
I prefer the more traditional method of making sauerkraut in a fermentation crock. For one thing, you get to use a cool-looking traditional stoneware fermentation crock (like this one). I find this method easier and a high-quality crock costs less than the weights, lids, and jars you need for the mason jar method.
If you aren’t sure you’ll love making sauerkraut, it might be best to start with the mason jar method. If you like it, a fermentation crock will greatly simplify the process.
How to Make Homemade Sauerkraut
A few tips for making the best homemade sauerkraut:
- Use the freshest cabbage available. Any color cabbage will work, but the fresher it is, the more crisp the finished sauerkraut will be. I love making kraut with fresh-picked cabbage from my garden or farmers market.
- Make sure everything is clean. Since this process relies on a certain type of bacteria for fermentation, it is important to remove as much unwanted bacteria as possible. No need to bleach anything (please don’t!), but make sure the jar or crock has been washed well in warm, soapy water, and wash your hands well too!
- Get rid of the air. As explained above, the beneficial bacteria need an anaerobic environment to ferment correctly. Using any of the methods I explained above will accomplish this.
- Get the salt right. This recipe does require salt. It is necessary not just for taste, but for proper and safe fermentation. I’ve tested it and it can be done with as little as 1 tablespoon per quart of sauerkraut (2 tablespoons total for this recipe), but doesn’t work well with less than that.
- Keep the temperature moderate. In my experience, kraut is best when fermented at around 64-67 degrees, though anything in the 60-70 degree range works well. If it gets cooler than that, fermentation is very slow. At higher than that, it is too fast and can yield a mushy finished product. Cabbage is often freshest in cooler months, and counter temperatures are perfect at these times. In warmer months, I often place kraut near air conditioning vents to keep it cool, or just make sure it is in a cool, dark corner of the pantry.
- Then make it stop! Once you’ve achieved the desired level of fermentation, it is important to move it to the refrigerator to stop the fermentation. At this point, it will store for up to 6 months if kept cool and with the kraut below the brine.
Homemade Sauerkraut Recipe
Ingredients
- 2 heads cabbage (about five lbs)
- ¼ cup salt (see note below)
- 1-2 TBSP caraway seeds (optional)
Instructions
- Get things clean - Wash all equipment, work surfaces, and your hands in warm soapy water.
- Slice the cabbage - Remove the outer leaves and cores from cabbage. (Compost them if you can!) Slice the cabbage into quarters for easier slicing. Then, thinly slice cabbage into very thin ribbons. If you have one, a food processor speeds up this process.
- Add the salt - Place the thinly sliced cabbage in a large bowl (make sure it is clean too!). Sprinkle the salt over it. Knead and squish the cabbage/salt with your hands for about ten minutes. At first, it won't seem like it is doing anything at all, but be patient. After a few minutes, the cabbage will start releasing liquid and by the end, there should be enough liquid brine to cover the cabbage in the crock or jar. Add the caraway seeds at this point if you are using them.
- Move it to the fermentation vessel - Stuff the cabbage very tightly into the jars or fermentation crock. Pour any liquid from the bowl into the jar. If needed, add just enough water to make sure the water/brine covers the cabbage entirely. If the cabbage is fresh, no liquid may be needed, but don't worry if you have to add a little water.
- Weigh and cover - Add the fermentation weights and fermentation seal (or use the fermentation crock as directed). If you are just using a basic mason jar, you can also do this by adding a smaller jar that just fits inside the lid of the mason jar and covering both jars with a cloth and a rubber band.
- Let it ferment - Now you get to practice patience! Fermentation will begin within a day and take 2-5 weeks depending on temperature and desired tartness. After 2 weeks, check for desired tartness. The sauerkraut is technically slightly fermented after only a few days, but the best flavor seems to be at the 2-3 week mark. Taste is the best measure here, so check it often and stop the ferment when you get the desired taste. Note: It is normal to see bubbles, white scum, or foam on top during the fermentation. You shouldn't see any actual mold, though. If you do, scrape it off the top, and make sure all the rest of the cabbage is fully submerged. All cabbage below the brine level should still be fine.
- Cool it down - Once fermented, it can be eaten right away, or it will store in the refrigerator for up to six months.
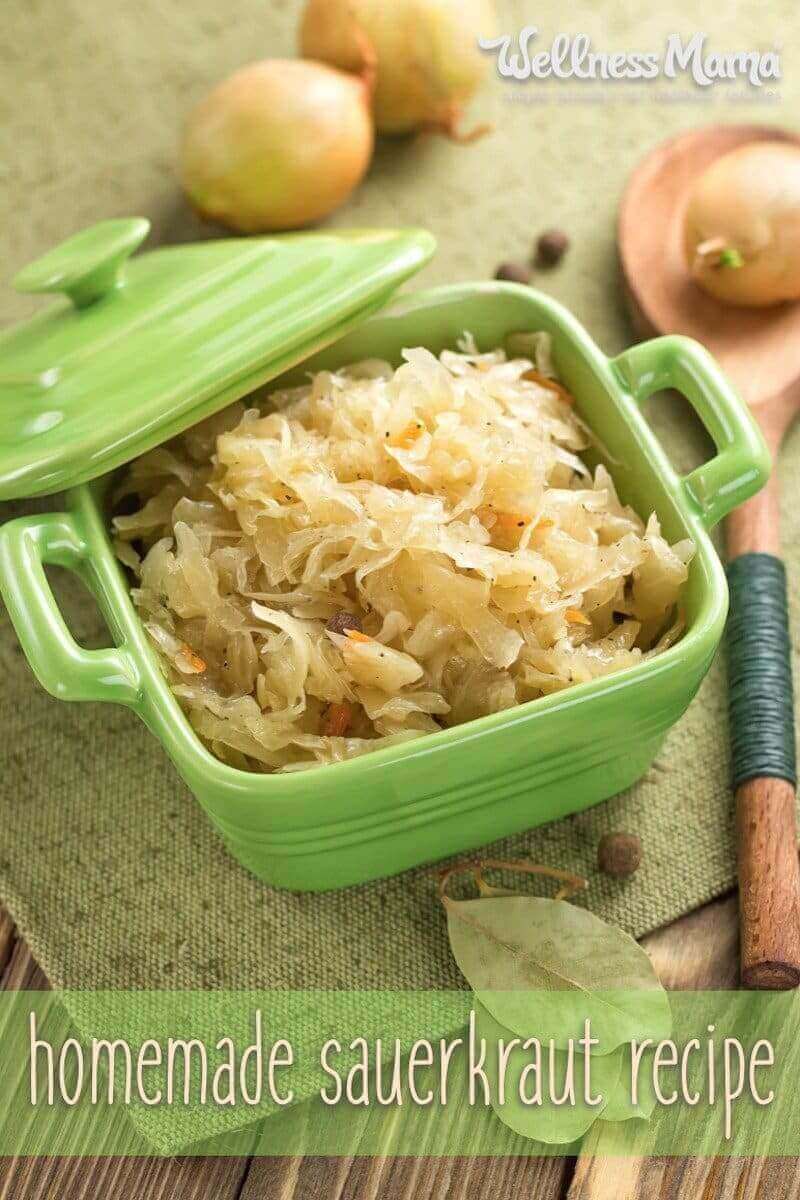
- Enjoy! Sauerkraut is delicious on its own or added to salads, soups, or on top of meats.
Notes
Nutrition
Sauerkraut Health Benefits
Now that you’ve made some delicious kraut, you get to enjoy its many benefits. Sure, it’s delicious, but it also has some other nutritional benefits:
Probiotic Powerhouse
If high quality probiotics aren’t in the budget, just make some sauerkraut. It contains billions of naturally occurring beneficial bacteria. Probiotics are thought to be beneficial in supporting the natural balance of bacteria in the gut. Some studies even indicate that probiotics and gut health are important for mental health, digestive health, and proper immune function.
Vitamins B & C
Cabbage is a natural source of B vitamins and vitamin C. The process of fermentation increases the availability of these nutrients, potentially making sauerkraut more nutritious that the original cabbage itself.
Good for Digestion
Sauerkraut is included in protocols like the GAPS diet to seal and heal the gut. Many people report that sauerkraut soothes and helps improve their digestion.
Antioxidants
Sauerkraut is a good source of lutein and zeaxanthin. These antioxidants are well-studied for their benefits to the eyes.
Do you like sauerkraut? Ever tried to make your own? Share below!
I recently made a very large batch of homemade Sauerkraut. It took about 3-4 weeks of fermenting on the countertop to achieve my desired level of sour. As soon as it was done, I transferred it to Mason jars and put it in the refrigerator. How long will it last in the fridge? I know fermentation has stopped now that it’s in there, but how do i know if it’s gone bad? Does it slowly lose it’s pro-biotic power the longer it sits?
I’ve had some last 6 months or longer if kept in an air tight container
I just had some kkraut that I made 2 years ago. Sat in fridge and was the best ever
Lo
I have had it last 18-24 months. A friend is a chemist and we did some probiotic testing on it, as well as he looked for bad molds. It was fine! We ate it. Never got sick.
We use the Perfect Pickler (you can get it from their website or Amazon). It allows you to make it in mason jars or the 1/2 gallon mason jars. Better if you don’t want to make the huge batch,
I am confused by this part of the instructions, can you elaborate?
9. Once cabbage is submerged, fill a 2 gallon food-grade freezer bag with 2 quarts of water. place inside another 2 gallon bag
10. Place brine-filled bag on top of cabbage in crock, making sure that it touched all edges and prevents air from reaching cabbage.
No where in the instruction 9 do you say to make a brine and put it in the bag, but then in 10. you are putting brine filled bags on top of the cabbage.
Thanks.
Sorry that wasn’t clear. Add a tablespoon of salt to the water in the jar
Hello! I’m also a bit confused about the instructions . I have never fermented anything before so I’m a little lost, lol. So, if I understand you right, we are adding an additional TBSP of salt to the already salty mixture and then, as completely as possible, cover all of it with the gallon bag of water? Does it matter what point you add in the whey?
Being new to DIY anything, I really enjoy trying out the recipes on your site! Thank you so much!
I add the when before packing in to the jar and add the sale before too. I also add salt to the water in the gallon bag so in case it leaks it doesn’t ruin the mixture
I’ve never had sauerkraut before and my mom only had it on a hotdog or sausage. Any ideas on how to eat this fermented food? :O)
I love sauerkraut mixed with avocado and served with scrambled eggs!
I just found this combination, I love it too! I love putting avocado and kraut on sprouted grain bread!
I might like sauerkraut more than most people. But, I love to just get a bowlful and a fork and have at it.
We put it on all kinds of sandwiches. We make a healthy version of the Rueben a couple times a week.
I like it mixed about 50/50 with massed potatoes and lots of butter, though I know control my potatoe consumption and have that as an occasional treat.
OK, the really wierd thing, I love to run it through my juicer and drink it. Don’t write that off until you try it!
Its great piled around a pork roast and baked. But, cooking it kills the probiotic value.
I never refrigerate the kraut that I make. The sourness is self limiting via the lactic acid that is produced during fermentation. And, it only gets as sour as I like it. If you want to stop the sourness level level short of topping out, then refrigerate when it gets where you want it.
Just some ideas from somebody who grew up not nowing that there even were people who didn’t eat sauerkraut at least 3 days a week. Pennsylvania German on both sides of the family.
I love it straight, too…just a plain ole bowlful of it! Mmmmmm………….
Me three! Good sauerkraut tastes awesome as is!!!
love this recipe – it has taken longer because our house is colder, but we eat it alot.
try putting a layer in the bottom of your slow cooker then adding a roast of pork or chicken – we love it with lamb and ribs the best – not only does it tenderize but the flavor mingling is amazing!!
I successfully made sauerkraut last year using the methods given on this website. I read a different method that I am trying on only one quart jar. The cabbage is prepared the same way but is covered with nothing more than a lid screwed down on the top. The instructions say to loosen the lid daily to release gases. What are your thoughts or experiences with this method.? Sure is a lot easier.
Recipe One;
Fried Sauerkraut with Caraway
Serves up to 4 depending on appetites
2 pounds fermented sauerkraut drained then pressed or squeezed as dry as possible
1 large red onion coarsely chopped
1 to 1 1/2 Tablespoons Caraway seed
1/2 stick real butter
4 Tablespoons olive oil
1 heaping teaspoon chopped fresh dill or 1 /2 teaspoon dry dill crumbled {if not already}.
Mix together first 3 ingredients in large bowl
In a heavy skillet { I like cast iron/enameled cast iron is excellent} melt butter and then add olive oil. Swirl to blend well.
Heat fats to almost the bubble point.Throw in the kraut mixture and spread out evenly. Let it fry for awhile because more fluid will come out. Let it all cook down to the fats.
When it starts browning stir it so much of the kraut can get a brown gold and some onions get caramelized and touched with a deep golden brown. Not all of the kraut mixture should get fried brown. I’d say about 50%. For the last 5 minutes stir in the dill. Let rest in the pan for another 5 minutes with the heat off and serve as a side dish to most meats.
Additions if desired:
Cracked pepper
Pork steaks cut in 1″ wide slices
polish kielbasa cut into 1″ chunks
Serve on hot dogs/w roll
Serve with brightly colored veggies, cooked or raw- and/ or oven baked fries
Recipe Two
Flank Steak Roll Ups with Kraut Filling
Serves up to 4 depending on appetites
1 fairly large flank steak pounded down somewhat thinly, cut into 4 equal portions that can be rolled up when needed further into the recipe.
2 pounds kraut- use recipe above- once again drain really well- it quickens the the time of cooking.
4 slices of Swiss cheese-the long slices. Suggestion- do not use Alpine Lace as the flavor is too delicate
1/4 to 1/2 pound bacon cooked well and crumbled
vegetable cooking oil
enough flour to dredge rolled up beef
This method is similar to lasagna roll ups.
Lay out your steak portions
place cheese along the length of the steak
spoon kraut mixture on cheese
next, layer the bacon over the kraut mixture
now roll as tightly as you can without losing too much of the fillings. Use toothpicks to hold the meat together if necessary.
Dredge each entire beef roll
Get 1/4 to 1/2 ” deep veggie oil hot in skillet. It’s ready when a few drops of water dance, pop and disappear quickly
place filled meat roll ups in pan SEAM down and let them sizzle for 5 to 7 minutes
then roll the meat over to cook for another 5 to 7 minutes or until thoroughly heated through and meat is done to your liking. Season to taste.
Serve with warm crusty bread and a real nice filled toss salad
I hope you try and enjoy these recipes. Neither of them are hard to double if necessary. And of course…there is always desert. Here’s cooking at ya!
Very helpful and much appreciated. Thanks for these great recipes. 🙂
Put a pork roast in a slow cooker that you seasoned with salt and pepper lightly. Cover with your sauerkraut. You can add a can ofbeer or sliced apple if you like. Cover and cook until meat is fall apart tender and juicy. In my cooker it takes about 4 hours on high. For the last hour you can put in some potatoes that you have quartered. Waala yor whole supper is ready. You can also do the same process in the oven at 350 degrees for 4 hours. ***The actual time depends on the size of your roast. These directions are for about a 3-4 pound roast with a large can or quart of kraut. GOOD LUCK
I’ll bet it’s really good, I mean pork roast in a slow cooker for 4 hours – plus beer – would be hard to beat. But here’s my recipe for a much quicker dinner, with similar ingredients (though no beer!):
Baked Pork Chops with Sauerkraut
Ingredients:
1 – 500 ml or preferably 750 ml bottle sauerkraut (sauerkraut is good!)
2 – 1” thick pork chops, trimmed of most of the fat (or equivalent amount of sliced pork tenderloin) (pork chops are best; some fat is good)
2 Tbsp brown sugar
1-2 tsp garlic salt (2 tsp is good) (I like garlic!)
½ tsp black pepper
4-5 slices Swiss cheese
Directions:
Drain and rinse sauerkraut
Mix brown sugar, garlic salt, and black pepper with sauerkraut
Put half of the sauerkraut mixture in bottom of greased dish
Place pork chops on top of sauerkraut mixture
Add remaining sauerkraut mixture on top of pork chops
Cover and bake in 350°F oven for 45 minutes
Remove from oven, remove cover, add Swiss cheese
Bake uncovered for 10 minutes to melt cheese
Serve and enjoy!
I love to eat my sauerkraut mixed with organic sunflower oil and lots of black pepper….it’s yummy!
Eating kraut is easy. Eat it straight. Put in mouth. Chew well. But for most fun, put it on top of any mild food you want to add zing to. My family loves to just put it in a bowl and add a dab of sour cream, like a zingy desert.
Right out of the jar or with pork roast, hot dogs,most anything
I fermented my sauerkraut for a week, then put it in the fridge. Over night all the brine has vanished in one of the jars!! What do I do?? Do I add more salt brine? What happened?! I had lots of brine last night.
I used a different recipe and only left it out on my counter for 3 days. It’s very salty! Can I put it back out on the counter to finish fermenting once it’s been in the fridge? Should I toss it and start over? Rinse it with water and eat it as is? First time and it looks great but doesn’t taste great at all.
Only add water if the brine (salt only, pressed HARD with the cabbage) doesn’t yield enough liquid to cover the cabbage. It must be anaerobic or mold will occur. If cabbage is not covered by liquid, simply add water to cover.
Hi Wellness Mama. I do not have a crock pot large enough to accommodate this amount of cabbage. However I do have a 5 gallon all purpose bucket that was recommended in a turkey brine recipe. It looks similar to the type of bucket used by Tropical Traditions. I purchased it at my local hardware store and have only used it for food preparation. The bottom is stamped with the number 2 surrounded by the recyclable symbol and is marked HDPE. Is this a safe alternative to glass or enamel coating? Please IM me on Facebook to Renee Dengler Lutz. Thank you so much. I cannot wait to try this recipe. I grew up in a small town and my dad fed our huge brood by means of hunting and raising game and growing too many varieties to mention of fruits, berries, roots,herbs, vegetables, etc. He was loving nicknamed “The Pickle King” and folks would travel up to 3 hours away to get a hold of his prized wares. He taught me well and I would love for him to be watching me from heaven, making him proud, as I make your recipe.
Glass is better if possible. Do you have a gallon size glass jar that could work?
Go to your local restaurant they through them away often and might give you a glass gallon jar.
Hi! Just as a tip I got from my parents (they made sauerkraut for years). Sometimes the water looks a little swampy and white-ish. If that happens, they said the cabbage needs to “breath”. If you use a smaller jar, then put a straw that can reach to the bottom, and blow a little air.
Do you leave the straw in the jar or blow and then remove?
New to this. My first batch has been fermenting for a week. Everything looks good so far. My question is the smell. What’s normal? Best I can describe mine is kind of sweet and sour. Is that normal?
I don’t have a crock. can you give me an idea of how to do this with smaller amounts, say, using quart sized mason jars or something similar?
I’ve made with 1 head of cabbage, 1 tablespoon of salt and in a quart mason jar… worked great. Main thing is to get the cabbage below the water level and it will still work.
thanks so much!
What do you use to cover it while it’s fermenting in a myosin jar? And is the water a product of the cabbage and the salt or do you have to add water?
Only add water if the brine (salt only, pressed HARD with the cabbage) doesn’t yield enough liquid to cover the cabbage. It must be anaerobic or mold will occur. If cabbage is not covered by liquid, simply add water to cover.
This is my first attempt to culture cabbage. I just did it this way (1 head cabbage, 1 T salt. I also added added 1 T of whey). Some tiny pieces of cabbage are floating on top of the water, but I put plastic wrap on top to try and keep them submerged ( the plastic wrap touches the water). I worry that the pieces on top could cause the rest to spoil because a few tiny ones are not technically submerged- just under the wrap in little crevices of the plastic wrap. Is this ok, or could it cause the whole batch to spoil? Since I added the whey, how long should I let it ferment?
Place a couple of whole cabbage leaves over your shredded cabbage to keep the cabbage suspended under the liquid.
I made sauerkraut in pint jars and after 3 days, processed them in a hot water bath for 20 minutes. The jars all sealed, but the level of the sauerkraut in the jars is higher than the level of the brine. Is it still good? I’m not supposed to eat this for at least a month. If it is still good, do I need to store it in the fridge for that month?
Heating sauerkraut destroys all the goodness, good bacteria etc. Never cook it if you want the probiotics it produces. All you need to do is make sure you have the right amount of “sea salt or kosher salt” ratio to cabbage. Massage the cabbage in a bowel till you get lots of liquid. Then transfer the cabbage into your jars…fill with the liquid to cover and place a few cabbage leaves on top of that so that all the shredded cabbage is submerged. Cover with airtight lid and let it sit in room temp for 5 to 6 weeks…taste test and then store in the fridge for up to 6 months.
Do you rinse before serving? Or not necessary?
Little miss perfectionist here wants to make sauerkraut. Love the stuff and all the health attributes. Wondering if I can use himalayan salt instead?
Absolutely. If you use the fine grind, you might want to use less than a full tablespoon to a head of cabbage. I use a tablespoon of coarse Celtic sea salt.
That’s how I’ve done it, too. I also added caraway seeds from time to time for some variety. It usually takes a week and it’s the right sourness for us. Easy peasy!
I use the removable crock from my slow cooker(s). I have several, because of their versatility, in different sizes and shapes. They make excellent fermentation vessels.
How do you make sure the cabbage is submerged in the crock from a slow cooker? That sounds like a great idea!
I use food grade plastic fermenting buckets with lids and airlocks……fantastic kraut!!
I’m using a plastic food grade brewing bucket with an airlock now but had to add a plate and a heavy weight to keep the cabbage and plate covered with brine after I checked it one and 1/2 days later after making the kraut. I placed the lid back on the bucket so that it sealed tightly and placed the airlock back into the opening of the lid that lets the CO2 out of the bucket. I don’t know what I’ll have in another 3 or 4 weeks but I’m hoping I get great kraut! Can someone tell me if I did the right thing opening my bucket and do what I did?
I buy any crock pots I can find at garage sales for $2.00 or less. If they work, great…..If they don’t I use the crock to ferment my veggies.
I made sauerkraut this fall using the method you described. Cut it, salt it , pack it , brine it( if needed) , Then i put the water in plastic bags ( food bags) I used a brine mixture just in case there was a breakage of the bag, rather than just water. I covered it with a saran wrap type wrap and did not touch it for about 3 weeks. Then i removed the wrap and it was fermenting well , no moldy kraut smelled good, I wiped off rimm of crock to brine level , refilled bags , put wrap back on . another 3 weeks and the kraut was the best Ive ever had without the constant checking and skimming. When i first started the temp of outdoors was in 80-85 range in garage so i set the crock in a picnic cooler and controlled temp with water filled pop bottle frozen in frig freezer.As temps dropped i stopped. My wife then canned it. I just had some with home made ( mine ) polish sausage …Zehr gute!! JH
If you are looking to have the beneficial bacteria (probiotics), then don’t “can” it – the heat will kill them off. Just ferment and place in fridge.