
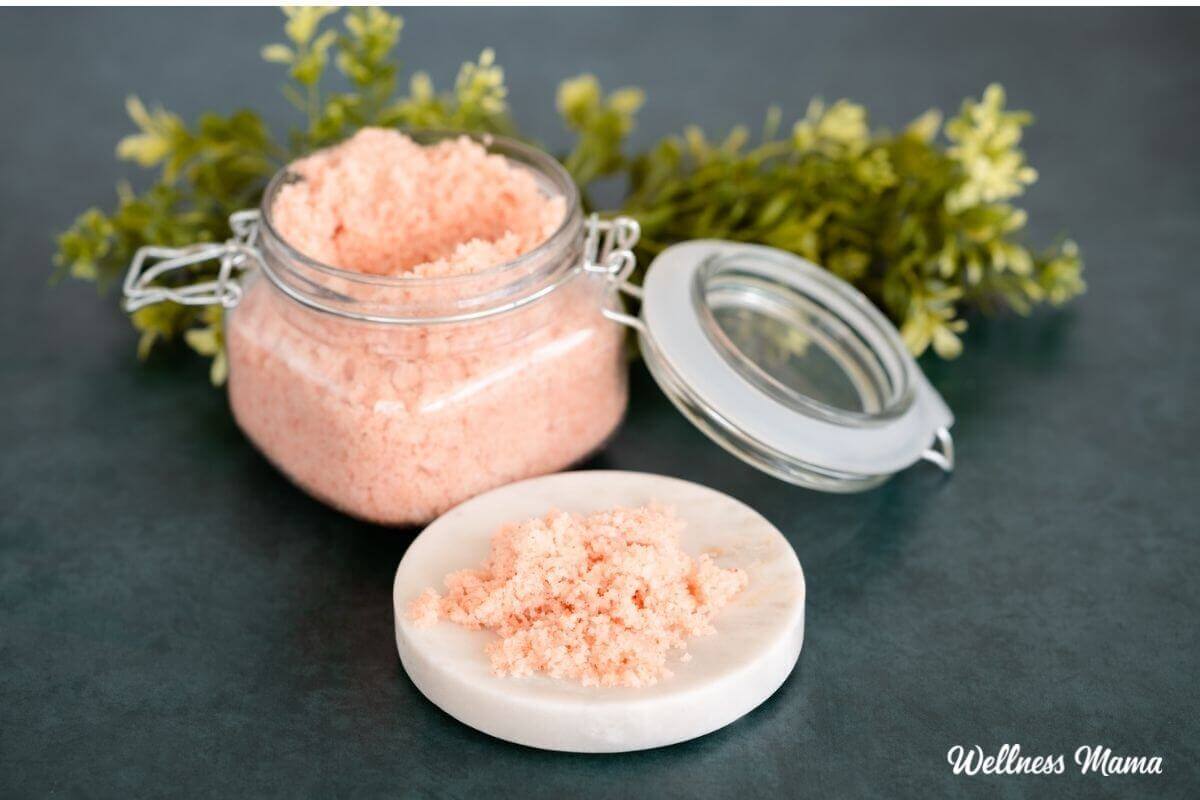

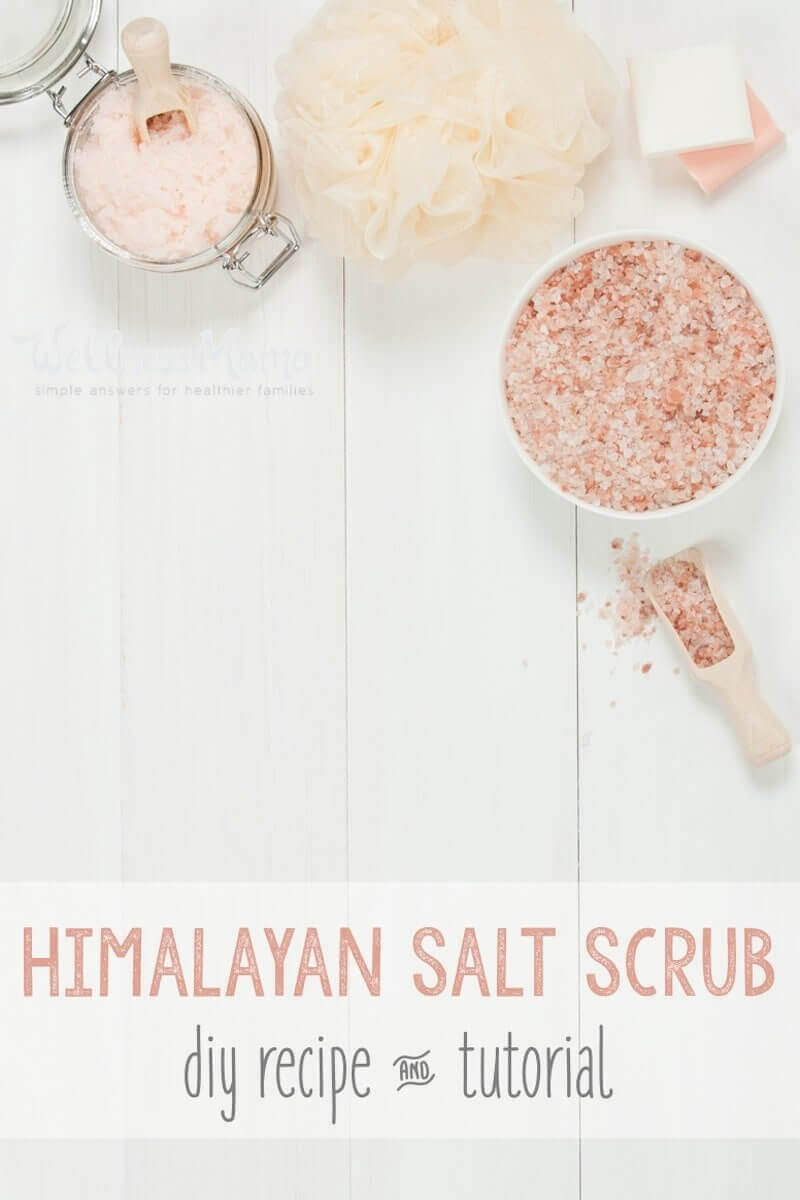
Looking for smoother, fresher feeling skin? This Himalayan salt scrub DIY is easy, simple, and great for exfoliating away dead skin cells. Body scrubs like this are just one of the homemade beauty products that are a staple in my home!
Why Make a DIY Salt Scrub?
Just the act of rubbing the skin helps stimulate fluid flow, reduce cellulite, and improve your skin’s overall tone and health. Dry brushing is a great way to do this, but a Himalayan salt scrub DIY also stimulates the skin and provides even more benefits. Adding essential oils ups the benefits even further and adds a hearty dose of mood-boosting aromatherapy.
This recipe is great for a body scrub, but salt can be too harsh for sensitive skin on the face. If you’re looking for a good face scrub, try this anti-inflammatory cumin sugar scrub recipe.
The Best Salt for a Homemade Salt Scrub
Salt (like sugar) helps exfoliate dead skin and increase circulation, but unlike sugar scrubs, it can contain healthy minerals. Regular iodized table salt is stripped of vital nutrients, so it’s not my first choice. Here are some different types of healthy salt to use for a salt scrub recipe.
- Epsom salt is basically magnesium, and I love it in my homemade foot scrub.
- Dead sea salt is really high in minerals, especially magnesium. A 2005 study found major skin benefits from soaking in it!
- Pink salt, also known as Himalayan salt, has dozens of trace minerals in it.
- Real Salt is very similar in mineral content to Himalayan salt. Instead of being mined in Pakistan, though, it comes from Utah.
- Celtic sea salt has trace minerals and is also a healthy choice for a sea salt scrub.
While all of these are good choices, obviously I’ve opted for Himalayan salt for this particular recipe. You could substitute one of the other healthy salts if you prefer, though. Just make sure it’s finely ground.
Pink Himalayan Salt Benefits
Himalayan salt is my favorite natural salt to keep around because it’s so rich in minerals and trace elements, like calcium, magnesium, and iron. When consumed, it can help balance electrolyte and pH levels, strengthen bones, and support circulation, to name a few things. This salt scrub DIY nourishes skin with all of the minerals and trace elements of the salt.
Choosing a Carrier Oil
Most scrubs include a carrier oil of some kind to help the scrub glide over the skin. This recipe uses coconut oil for its amazing skin benefits and some lighter sweet almond oil to tone it down while still moisturizing. I’ve also included a small amount of castile soap to help cleanse the skin as you moisturize for a truly all-in-one scrub.
If you don’t have almond oil on hand, other options include olive oil, jojoba oil, grapeseed oil, or fractionated coconut oil. Just make sure the oil you choose to replace the sweet almond oil with is liquid at room temperature.
Grapefruit Essential Oil Benefits
Grapefruit essential oil helps stimulate the lymphatic system and eliminate excess water weight. It also helps boost circulation and diminish the appearance of cellulite. One 2005 study found that just smelling grapefruit can boost metabolism and speed weight loss. It’s also high in limonene, which helps protect cells from free radical damage. It smells amazing in this DIY granite spray, too!
Some aromatherapists, including essential oil expert Tisserand, consider grapefruit to be phototoxic if used above 4%. This means it can cause sun sensitivity if left on. There shouldn’t be a concern here though, since the grapefruit is washed off and is at .5%.
Soothing Peppermint
Although more commonly used for digestion and to aid in clear breathing, peppermint oil with its menthol content also makes an invigorating salt scrub. Peppermint helps wake you up and increases energy. It can also help balance oil production for clearer skin. I like using it to help soothe headaches.
Since it’s a strong essential oil, make sure it’s properly diluted, and don’t use it on very young children. In this body scrub recipe, we’re only using a tiny fraction of a percent just for the scent.
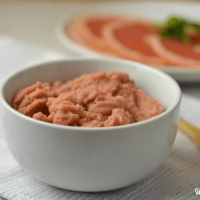
Himalayan Salt Scrub DIY
Materials
- 1 cup Himalayan salt finely ground
- 2 TBSP coconut oil
- ⅓ cup sweet almond oil
- 1 TBSP castile soap
- 30 drops grapefruit essential oil
- 2 drops peppermint essential oil
Instructions
- In a small glass bowl, add the coconut oil, essential oils, and sweet almond oil. Mash it all together with a fork or silicone spatula.
- Add in the castile soap and Himalayan salt.
- Store your Himalayan salt scrub DIY in a glass jar.
Notes
Tips for Using
- Since this product is made with oil, be careful when using it in the shower as it can make the floor slippery.
Storage Tips
- Store in a cool, dry place at room temperature and apply with dry hands. This doesn’t need a preservative because it doesn’t contain water. Be careful not to introduce water to the homemade body scrub in the shower.
- You can also add some vitamin E to give the scrub an antioxidant boost and help prevent the oils from oxidizing if preferred.
Ever used a salt scrub? What are your favorite scents to use? Leave us a comment, and be sure to share this post with a friend!

Leave a Reply