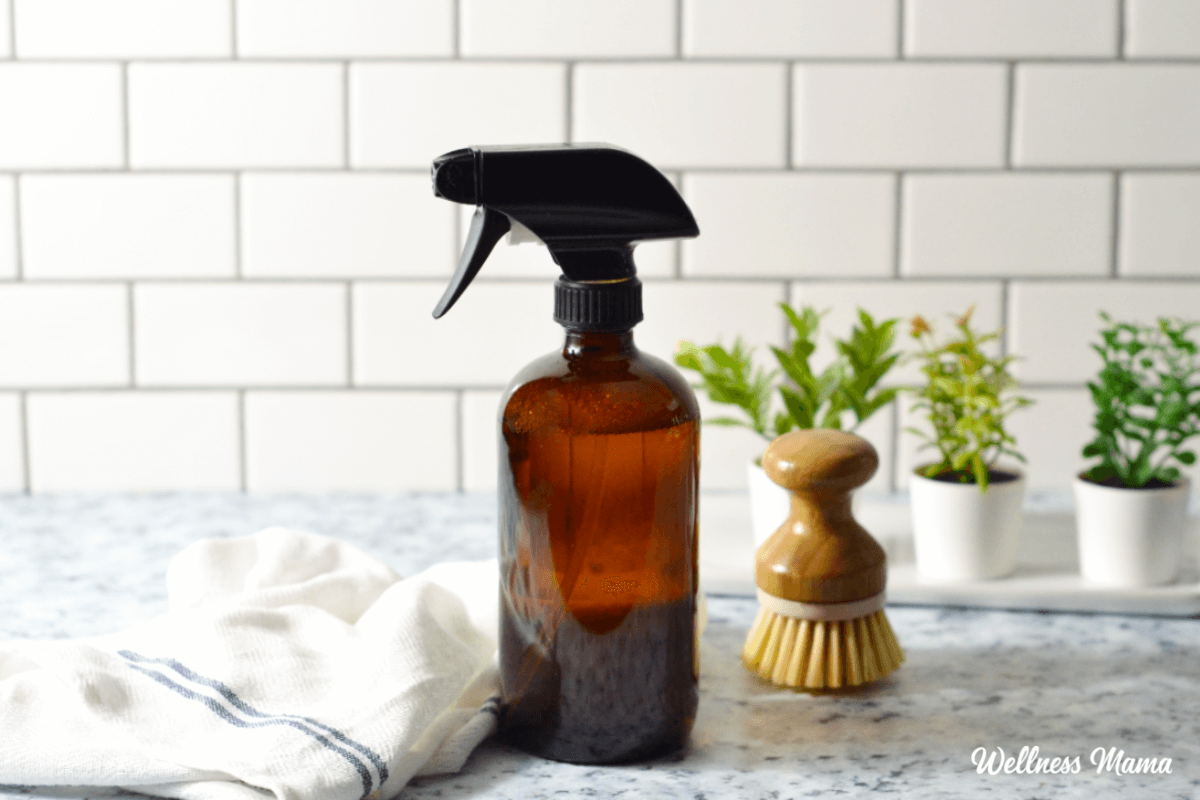
I frequently use my homemade all-purpose spray around the house, but it’s nice to have something a little stronger for the bathroom. Bathrooms are prone to mildew, bacteria, and viruses that aren’t so nice to have hanging around (especially when you have boys whose aim isn’t always the best!). This natural DIY bathroom cleaner is tough on grime, soap scum, and germs… and smells amazing too!
DIY Homemade Bathroom Cleaner
I’m not that big on killing bacteria. I let my children put healthy, organic dirt in their mouths, we use biome-friendly skin products whenever possible, and we regularly consume fermented foods to feed good gut bacteria.
It’s true our world is over-sanitized, but sometimes life calls for a potent natural cleaner. The bathroom is one of those places. Mold and mildew grow more readily due to steamy showers. Toilet seats can have fecal residue, and little boys (and big boys) can sometimes miss. Then there’s the issue of rust and lime build-up from hard water.
Then there’s kids + flu season… need I say more?
Tough on Grime and Germs
This DIY bathroom cleaner can tackle most of the bathroom cleaning to-do list. The washing soda is more alkaline than baking soda, with a pH of 11. It’s useful for softening hard water and cutting through limescale and grease. (Note: Washing soda is not the same as baking soda.)
Borax is a little controversial, but I’ve come to the conclusion it’s a safe cleaner. I just avoid using it around areas where there’s food. Since this is a natural bathroom cleaner, you shouldn’t have any problems there! Omit the borax if desired, though the spray may not clean as effectively.
A lot of natural bathroom cleaners rely on castile soap, but in this case, I use Sal Suds. It’s a natural, yet potent detergent derived from coconut. Some DIY bathroom cleaner recipes call for Dawn dish soap, but Sal Suds is a more natural version.
Germ-Busting Essential Oils
Essential oils provide the antibacterial, anti-viral and anti-fungal properties in this natural bathroom cleaner. They add a nice scent plus cleaning benefits. I frequently use them in small amounts in homemade natural cleaners.
Since this is a stronger all-purpose spray for the bathroom, the concentration of essential oils is a little higher. Concentrations around 1% are effective on stronger pathogens commonly found in bathrooms, like E. coli, staphylococcus, and salmonella.
At the same time the essential oils are diluted enough in this recipe that if some accidentally get on the skin, it shouldn’t cause any irritation. I cover the ins and outs of using essential oils safely here.
An interesting tip: Older citrus oils may have oxidized and aren’t recommended for use on the skin. But they still work great for cleaning. Use them up in this recipe instead of throwing them out!
This bathroom spray uses a blend of lemon, orange, cinnamon, and clove essential oil. Or you can use a pre-made Germ Fighter essential oil blend instead. Eucalyptus or tea tree essential oil would also work well if you wanted to substitute those.
DIY Bathroom Cleaner
Equipment
Materials
- 2 tsp borax
- 1 tsp washing soda
- 1 cup very hot water
- 1 TBSP Sal Suds
- 1 cup room temperature water
- ¼ tsp lemon essential oil
- ½ tsp orange essential oil
- 10 drops cinnamon essential oil
- ¼ tsp clove essential oil
- 1 tsp Germ Fighter essential oil blend (optional, use INSTEAD of the above essential oils)
Instructions
- Pour the washing soda and borax into the spray bottle, then the hot water. Cap the bottle and shake well until the powder dissolves.
- Remove the cap and add the Sal Suds and essential oils. Add room temperature water until the bottle is almost full, making sure to leave room for the sprayer lid.
- Gently shake the cleaning solution to combine.
Notes
How to Use the DIY Bathroom Cleaner
- Spray on all surfaces in the bathroom, including sinks, toilets, tile, floors, and fiberglass. Test a small area first if there’s any concern the spray may damage a material or surface.
- For disinfection, spray and wait a few minutes before wiping off. This gives the essential oils time to kill pathogens on the surface.
- For tougher spots, leave the spray on for 10 minutes before scrubbing it off.
This article was medically reviewed by Madiha Saeed, MD, a board certified family physician. As always, this is not personal medical advice and we recommend that you talk with your doctor.
What are your favorite ways to clean up those grimy spots around the house? Leave a comment and let me know!


Leave a Reply