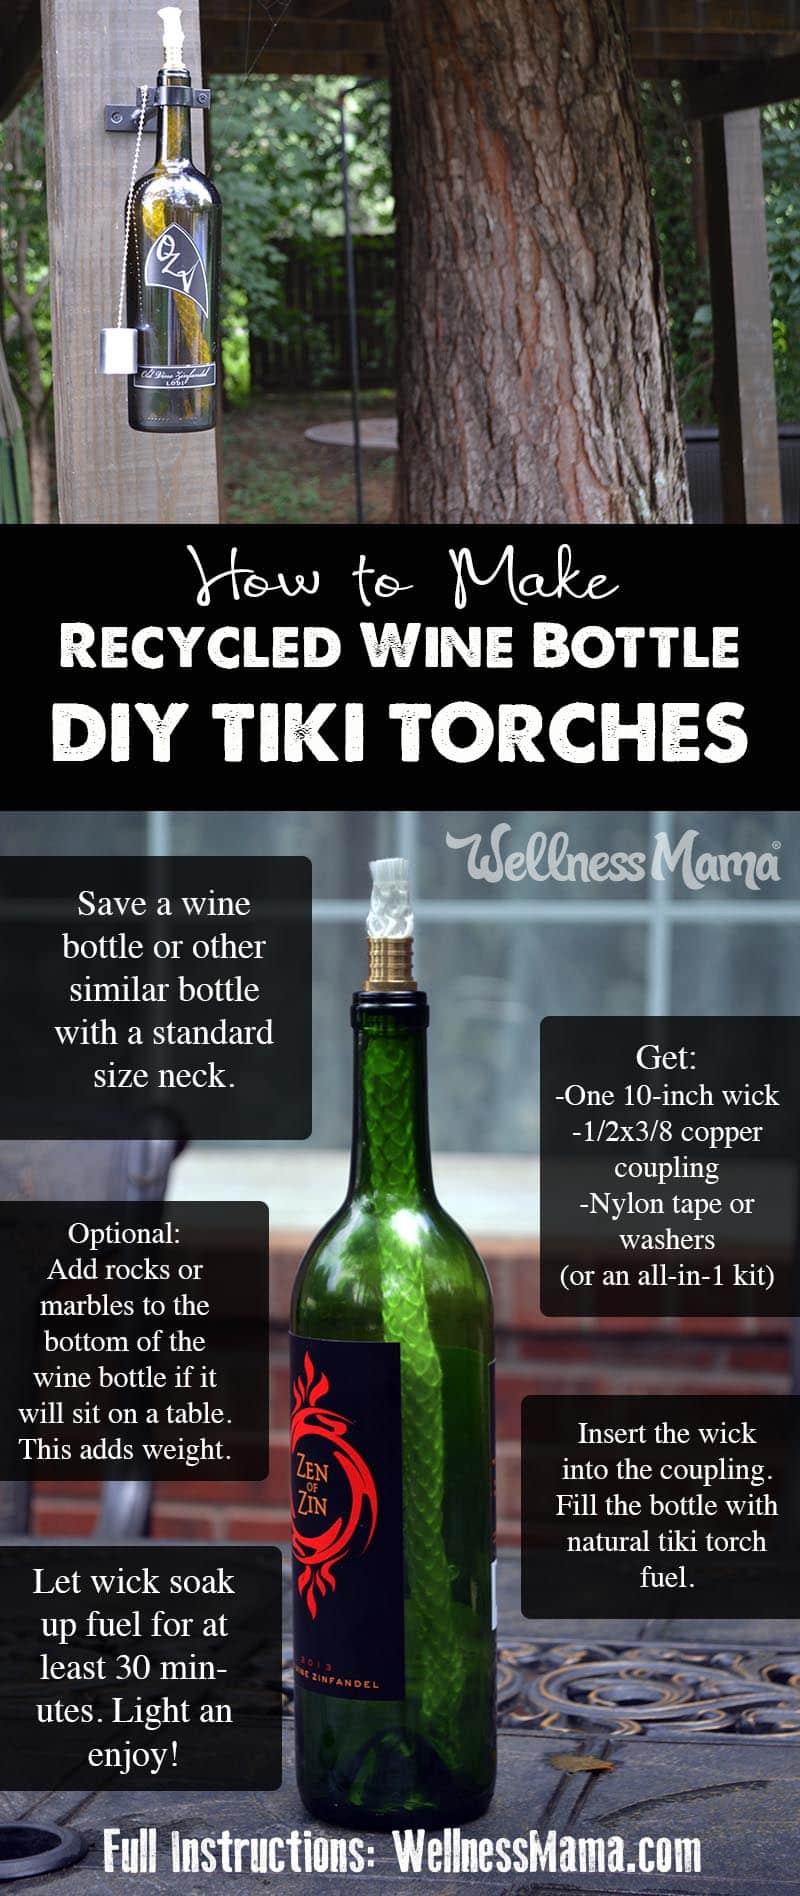
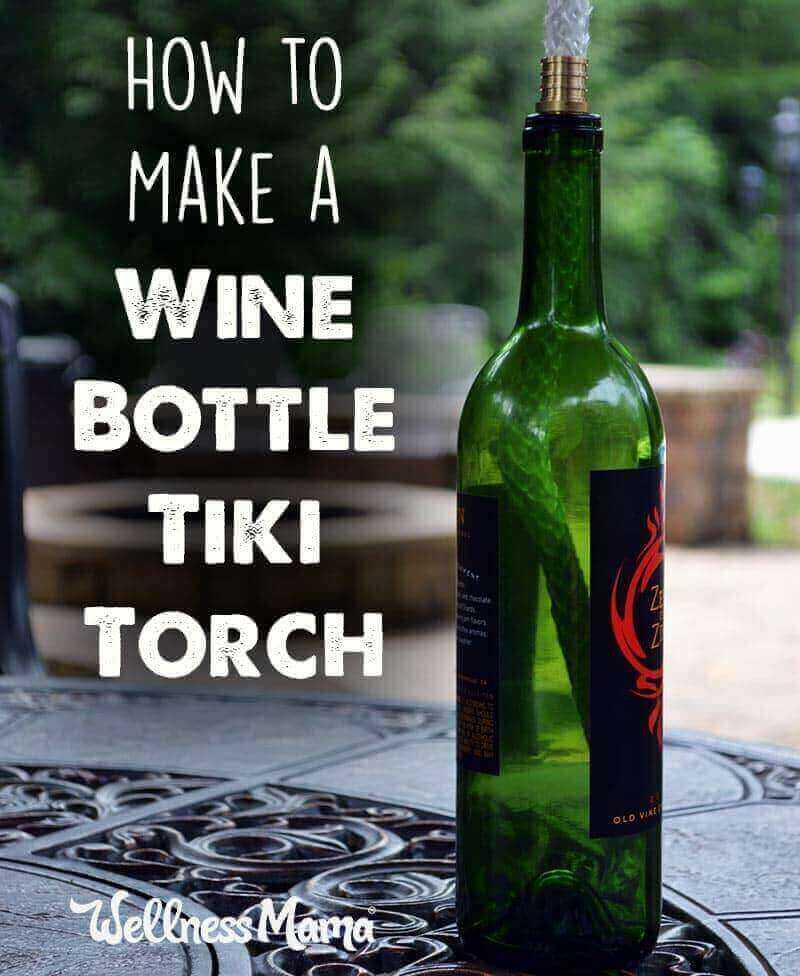
In the summer I always keep homemade natural bug spray at hand, but tiki torches are a lovely and practical way to light up the patio while keeping mosquitos at bay. (And where I live, that’s a tough feat!)
I avoid plastic as much as possible and we use glass, stainless, or wood in its place, so I went in search of some DIY ideas. Thanks to the magic of Pinterest, I decided to experiment with upcycling and reusing my old wine bottles.
I was pleasantly surprised how easy it was for such an impressive (and useful) result!
Why Tiki Torches?
It has gotten more difficult over the years for my hubby and I to get away for date nights (because children), so our go-to date is sharing a bottle of wine on the patio once the kids go to bed. (Wine can be healthy, I promise!)
The one downside to our patio wine-drinking date? The previously referenced mosquitos who like to join us!
Seriously, where we live, the summertime is affectionately known as the “Mosquitopocalypse” because of the literal clouds of mosquitos. Bug spray is great, but if you sweat or swim (both common occurrences in summer) you’re stuck reapplying in order to keep the blood-sucking bastards mosquitos at bay.
I started looking for some tiki torches to use in our yard but the only options at our local store were:
- Really nice metal tiki torches that cost over $20 each
- Cheaper bamboo ones that our puppy would likely confuse with his bone and chew on the first day
I started researching how to make tiki torches by reusing glass wine bottles and found a simple all-in-one option. We have quite a few of these in our yard now, and not only do they help with the mosquitos but they add a nice sense of decor as well!
The Obligatory Caution:
As with anything DIY involving glass or fire, use caution when making and using these. Glass can break unless treated with care. Since this tiki torch uses citronella oil, it can also be a fire hazard if used incorrectly. Of course, use common sense with these and make sure to:
- Use these only in areas where they can’t be knocked down or easily break. Or, use the kind with mounting brackets so they can be safely held in place. This is the kit I used to mount my tiki torches.
- Consider putting small rocks or marbles in the bottom of the bottle to add extra weight and prevent tipping if using on a table.
- Don’t use these indoors.
- Keep the wick on the top of the bottle at 1 inch or less.
- Store the torches in a garage or shed (or somewhere else away from the weather) when not in use.
- Again, use common sense.
How to Upcycle Wine Bottles into Tiki Torches
This DIY project especially appealed to me because ever since I was little, I’ve loved unique glass jars. I remember asking my mom if I could save some our old bottles and jars so I could make crafts with them or use them to store little toys.
Now I love to save and reuse glass jars for making tinctures and natural remedies. In fact, my natural remedies cabinet looks like a vintage apothecary with a collection of unique, colorful recycled jars and bottles.
Thanks to our patio dates, we now have a robust collection of empty wine bottles that were beautiful enough to justify keeping. Hopefully you have a stash too. If not, start saving your favorites (or choose the prettiest bottles to buy!).
Wine habit = justified! Bonus!
Tiki Torch Supplies
To make these tiki torches, you’ll need several very specific supplies:
- Wine, beer, or liquor bottle with a standard size neck. I recommend Dry Farms Wine, my personal favorite.
- 1/2 by 3/8 inch copper coupling
- 10 inch tiki wick
- Nylon thread seal tape or 1/2 inch rubber washers
Or:
- an all-in-one tiki torch kit (try this 3-pack kit or this mounted option)
Plus:
- Tiki Torch Fuel*
*Most tiki torch fuels are petroleum based and create harmful byproducts when burned. I like this safe and green formula that is natural, sustainable, and burns cleanly.
Tiki Torch Instructions
- Wrap one side of the coupling with the nylon tape or slide the rubber washers onto it. This helps hold the coupling in place and seal off the fuel from the air. You’ll want to make sure that the coupling can slide into the mouth of the bottle tightly but not fall in. For wider bottles, more nylon tape or thicker washers may be needed.
- Feed the wick into the coupling, leaving about ¼ to ½ inch above the coupling to be able to light.
- Optional step: Add clean rocks or marbles to the bottom of the bottle to fill it 1/3 full. This is optional and only recommended for tiki torches that will be on a table and not those hanging or mounted.
- Add tiki torch fuel until the bottle fills to the beginning of the neck. *Tip: According to some sources, you can add a few inches of water first and then the fuel. The fuel floats on top of the water and this reduces the amount of fuel needed and makes it more efficient since the fuel doesn’t have to travel so far up the wick.
- Carefully insert the coupling into the mouth of the bottle.
- Let the wick absorb the fuel for at least half an hour before lighting.
- Light and enjoy.
Other Ways to Reuse Wine Bottles!
- Plant Watering: Drill a small hole in the top of a screw-on top wine bottle. Fill with water and return the cap with the drilled hole. Turn upside down and bury the neck of the bottle 4 to 5 inches into the dirt of a potted plant.
- Vase: Wrap an empty wine bottle in twine and use as a vase for simple flower arrangements.
- Dish Soap Dispenser: Add a pour-top to an old wine bottle to make a dish soap dispenser or to store any other liquid ingredients.
Will you try to make these wine bottle tiki torches? How do you reuse old bottles? (And please let me know if you have other ideas for date nights in!)


Leave a Reply