
Lotion bars are one of my favorite DIY beauty products. They’re compact, easy to travel with, and fun to make. I’ve created quite a few variations on my regular lotion bar recipe over the years. Today I’m sharing my bronzing lotion bars version.
I’m all for a natural-looking tan, and I’m not afraid of getting a sun-kissed glow outside. But sometimes (like in the winter), that’s not optimal. These body bronzer lotion bars give skin a natural glow and shimmer even when the sun’s not out.
I like using them in the warmer months too to protect my skin and as a moisturizer.
Sunscreen + Bronzing Lotion Bars
These bronzing lotion bars were inspired by a reader from Hawaii. She mentioned how she added coffee-infused oil to her lotion bars to get a bronzing effect. This inspired me to create a bronzing/bug-repelling/sunscreen bar that’s great for the beach.
The sunscreen part is optional as we like to get vitamin D when possible. If you aren’t used to natural sunscreens, I would test this carefully at first as it’s still a low SPF.
They also smell wonderful. I like to pack a bunch for the beach and keep them in a cooler so they don’t melt. If you’d prefer, leave out the beeswax for a lotion instead.
I found these bars left a mild bronzing effect, a little sun protection, and pest protection. Not so fun fact: bugs are still active in the winter in the South! If you don’t want/need a bug repelling bar, then there are plenty of other essential oil options.
Skincare Safe Essential Oils
Here are some essential oil blend ideas that support skin health and smell great in a lotion bar. You can also use any of the essential oils below on their own.
- Lavender and Lemon (keep the lemon under 2% dilution due to potential phototoxicity)
- Sweet Orange and Grapefruit
- Rosemary and Peppermint
- Cedarwood and Tea tree
Conventional Bronzing Lotion
Tanning mousse, bronzing mousse, self-tanner, and other similar options aren’t on my list of products to use. They usually have chemicals I’d rather not put on my skin. Not to mention they’re often not as streak-free as claimed. I’d rather skip the application mitt and the orange tone.
The main chemical approved by the FDA for self-tanner use is dihydroxyacetone (DHA). The FDA also says to make sure not to get any DHA on mucus membranes, in the mouth, or to breathe it in. That last one can be a little hard when it’s being slathered on the skin.
Natural Bronzing Lotion Bars
There are a few ways to make natural sunless tanning body lotion bars. The sunless tanner effect is subtle, unlike some self-tanning lotion options at the store. I don’t worry about matching it to my skin tone since the bars aren’t very dark.
The first step is to use coffee-infused coconut oil for a hydrating, bronzing lotion. To add a little more color, I’ll also add some mica powder. This gives skin more of a shimmer than color. Or you can use some natural mineral makeup in a dark shade to give more coverage.
It won’t be the same as the sunless tanner from the makeup aisle, but in my opinion, that’s a good thing.
How to Infuse Coconut Oil with Coffee:
To get the natural bronzing effect, I infused coconut oil with finely ground coffee. I made a big batch so I’d have some to store, but you could cut this in half.
- Add 2 cups of coconut oil and 1 cup of very finely ground coffee in a double boiler.
- Simmer on low heat, stirring often, for several hours until the oil takes on a dark color.
- Strain through cheesecloth or old t-shirt and let cool.
- Use this for the coconut oil in the recipe below.
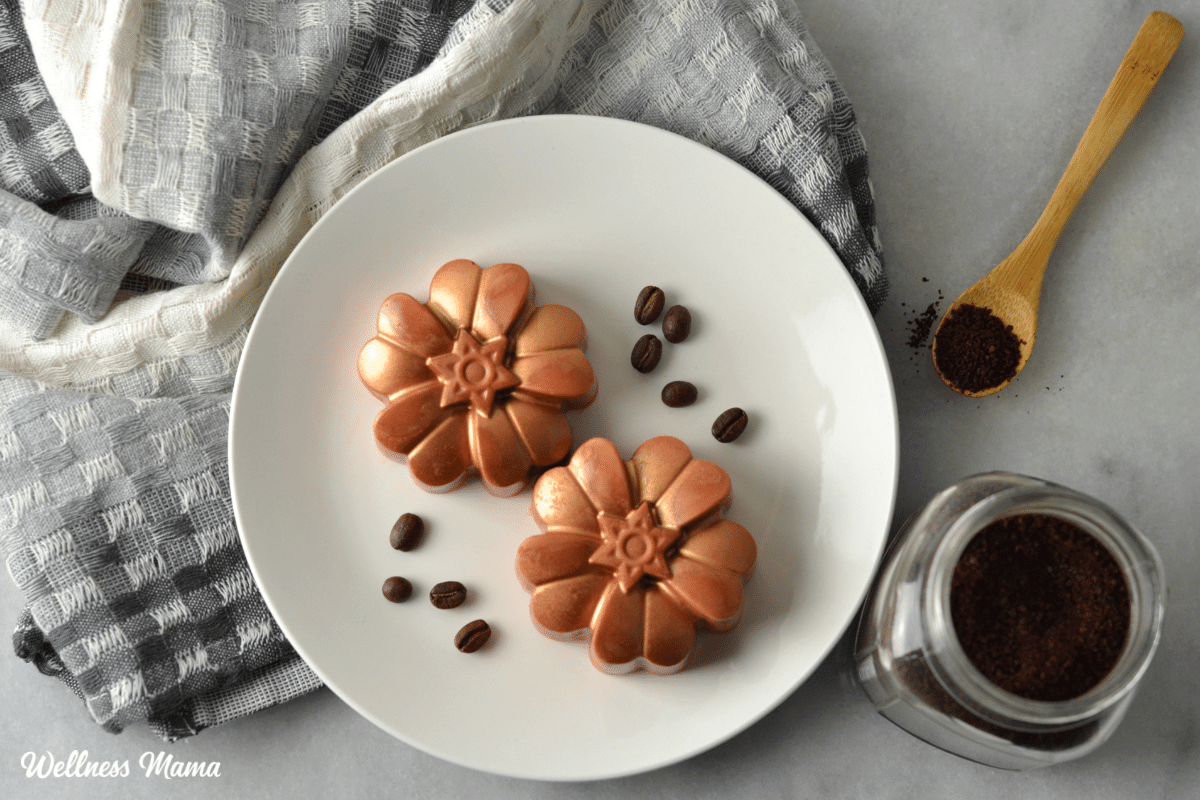
Bronzing Lotion Bars For Glowing Skin
Equipment
Materials
- ½ cup coffee infused coconut oil
- ⅓ cup beeswax pellets
- ¼ cup shea butter
- 1 TBSP zinc oxide optional for SPF
- 25 drops bug repellant essential oils or essential oils of choice
- ½ tsp mineral makeup in a dark color optional for extra bronzing
- 1 tsp bronze mica powder optional
Instructions
- Combine all of the ingredients except for the essential oils and mica in a quart-size mason jar. Carefully place the jar in a small saucepan of water on the stove. Or use a double boiler if preferred.
- Bring the water to a low simmer. Stir the ingredients constantly until melted and smooth.
- Remove from the heat and stir in the essential oils and mica.
- Carefully pour the mixture into your molds.
- Allow the lotion bars to cool completely before popping them out of the molds.
Notes
- Instead of individual molds, you can pour the lotion bars into a square silicone baking pan before cutting them into bars.
- Store in a cool, dry place for up to 6 months.
How to Use the Lotion Bars
To use, hold the bar in your hand and carefully rub it on dry skin. The skin’s heat will transfer some of the oils from the lotion bar onto the skin. I store mine on a small plate on my dresser and bathroom counter.
Additional Notes
The dark color won’t show in the bar, especially if you add zinc oxide. But it will darken the skin.
Some of the color can transfer to light-colored clothing. So be careful wearing white or light colors until the lotion has fully absorbed into the skin.
More Lotion Bar Options
Once you start making lotion bars you may not want to stop! Here are some of my other lotion bar recipes.
Don’t Want To Make Them?
Want to use lotion bars but don’t have the time or ingredients to make them yourself? My friends at Made On make all kinds of lotion bars, soaps, and other natural products that meet my high standards. They’ve agreed to give Wellness Mama readers a 15% discount on all orders with the code “wellnessmama” at checkout.
Learn more about Made On lotion bars and get them here.
Ever made lotion bars? What’s your favorite type? Share below!
Leave a Reply