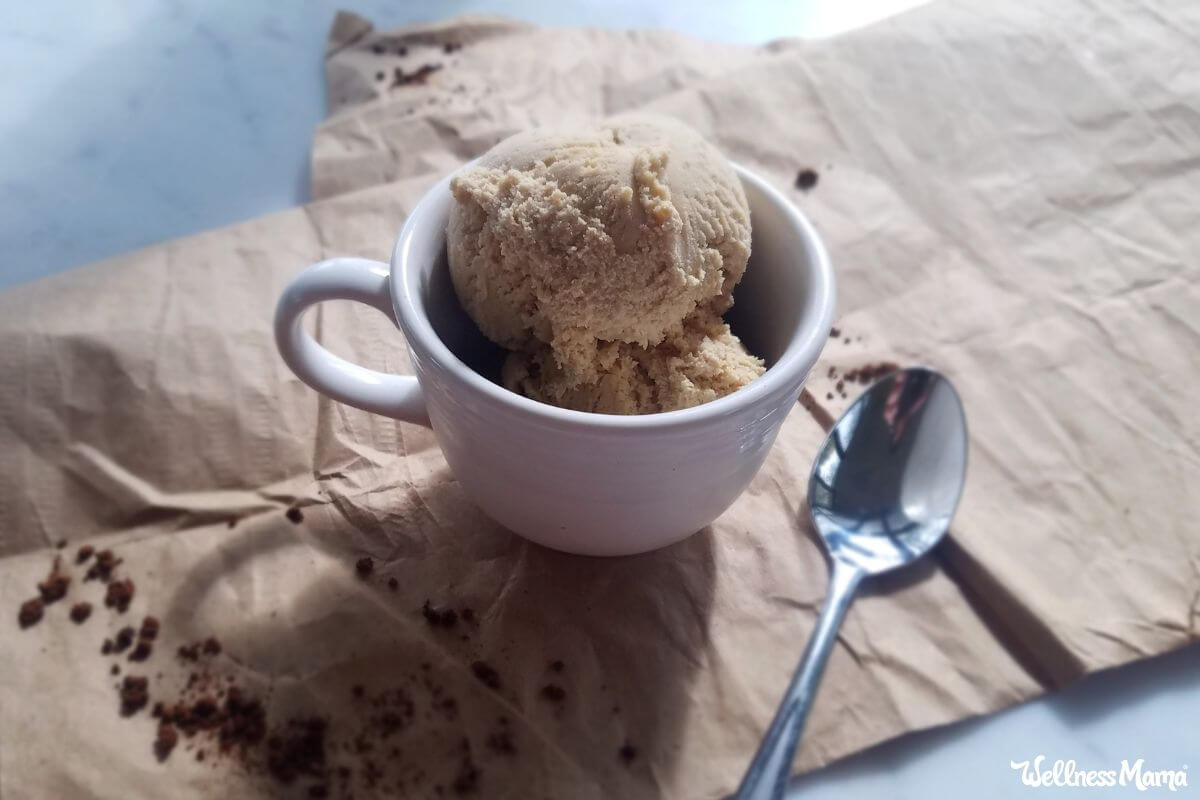
I’ve been thinking for a while that it’s high time for a new dessert recipe! I know ice cream is a popular summer dessert choice, but does cold weather really make it any less delicious? Obviously not, since snow cream is a thing! Add coffee and you have the perfect treat for any time of year.
If you’ve got as many ice cream lovers in your family as I do in mine, you’ve probably tried making your own homemade ice cream. If you haven’t, this is the perfect excuse to try it!
Homemade Ice Cream
I started making my own ice cream several years ago when I wanted options that weren’t full of sweeteners and flavorings that I try to avoid. Making it myself allows me to decrease the sweetness a little, nix the artificial colors, and use seasonal and nutritious add-ins. Plus, I can customize it to make any flavor combination I like!
Since we enjoy homemade ice cream somewhat regularly, I invested in an ice cream maker a while back. This is the one we use. It’s been great and lasted a long time with no issues.
Brewing Up Some Coffee Ice Cream
Rather than actually brewing coffee to make my coffee ice cream I use packets of Four Sigmatic instant mushroom coffee. It’s delicious, contains half the caffeine of coffee, and has additional health benefits that only mushroom coffee can provide. If you don’t have any, or aren’t daring enough to try mushroom coffee, you can use another instant coffee.
Making the Ice Cream
Most ice creams contain similar ingredients for the ice cream base. It’s a combination of whole milk/cream or coconut milk, egg yolks, and a sweetener such as maple syrup or honey. Technically, an ice cream made with egg yolks is actually a custard. I like to include egg yolks both for the nutrient value and for the smooth, soft texture when the ice cream is frozen.
To make the custard base for this coffee ice cream I warm milk, maple syrup, a dash of salt, and the instant coffee. Then I temper the egg yolks by dripping a little of the warmed milk into them at a time while whisking, gradually adding more and more until about half of the warmed milk has been whisked in.
I return the egg/milk mixture to the pan and heat and stir it some more until it has thickened. Just heat it until it’s thickened, no longer! The very most important thing is to not allow it to come to a boil. If you do, the eggs will cook and you’ll have bits of scrambled egg in your custard mixture. If that happens, don’t cry. All is not lost. You can strain it through a fine mesh strainer and it will barely be noticeable.
Then just let the coffee custard cool, mix it with heavy cream or coconut milk, and let it churn away in the ice cream maker until it’s thick and creamy. You can eat it immediately or put it in the freezer to enjoy later.
If you like your ice cream to have a little crunch, try mixing in some mini chocolate chips or chocolate-covered espresso beans in the last couple minutes of churning.

Homemade Coffee Ice Cream Recipe
Servings
Equipment
Ingredients
- 2½ cups whole milk (or coconut milk)
- ½ cup maple syrup (or 1 cup cane sugar or coconut sugar)
- 1 pinch salt
- 2 packets Four Sigmatic instant coffee (or 2 TBSP instant coffee granules)
- 6 egg yolks
- 2 ½ cups heavy cream (or coconut milk)
- 1 ½ tsp vanilla extract
Instructions
- In a medium saucepan, combine the whole milk, maple syrup, salt, and instant coffee.
- Heat over medium heat until warm and steaming, but not boiling.
- Remove from heat.
- In a small bowl, whisk the egg yolks.
- While whisking constantly, add one tablespoon of the warmed milk mixture at a time to the egg yolks.
- When about half of the warmed milk has been whisked into the egg yolks, return the milk/egg yolk mixture to the pan with the remaining warmed milk.
- Heat gently over medium-low heat until the mixture is thickened. Do not allow the mixture to boil! If you accidentally heat it too far and cook the eggs, strain the mixture through a fine-mesh strainer.
- Place the finished coffee custard in the refrigerator until chilled.
- When the custard is fully chilled, whisk in the heavy cream and vanilla extract.
- Pour the mixture into an ice cream freezer and churn until frozen. If you don’t have an ice cream maker, you can pour the mixture into a freezer-safe container and stir it occasionally as it’s freezing.
Notes
Do you make your own ice cream? Any tips to share?


Leave a Reply