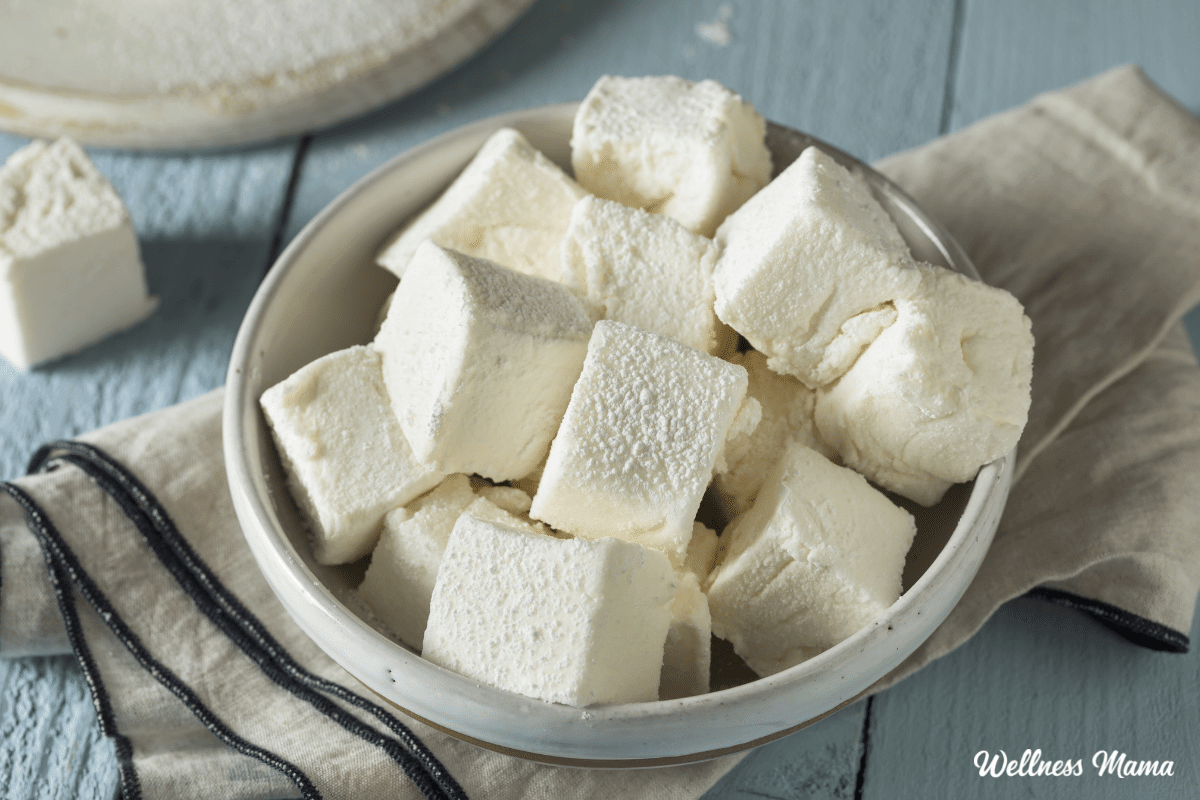
Candy and sugary desserts are not a food eaten very often by my family. My husband doesn’t have much of a sweet tooth, and we attempt to avoid sugar as much as possible. But occasionally when the kids are craving sweets, or if we’re out somewhere where candy and other junk food are around, I try to find a healthier alternative for them. This healthy, homemade marshmallow recipe came about because of that need.
We actually got the idea when watching a cooking show with the kids, and since I was not going to use the corn syrup and processed sugar that the TV recipe suggested, the healthy marshmallow experimenting began!
It’s a sticky process for sure but really fun for the kids to watch the gelatin turn into fluffy white goo … and with a little practice not much trouble at all. Homemade marshmallows aren’t sickeningly sweet like store-bought marshmallows and have a better texture and flavor too (in my opinion!).
Healthy Marshmallows? Is It Possible?
Maybe you’re wondering … isn’t she always saying how sugar is bad? In a word, yes, and I have a stricter policy for myself on even natural sugars than I used to. For the kids, though, I don’t worry about an occasional treat as long as it meets several qualifications:
- All of the ingredients have to come from healthy sources and not be made chemically in any way.
- The ingredients should have some health-boosting properties (like gelatin or probiotics, etc.).
- It needs to taste good! After all, that’s the point!
With these goals in mind, the kids and I got to work on our experiment. I had a few failed marshmallow batches that luckily still tasted good and could be used as a marshmallow cream. Finally, I found a marshmallow recipe that I was happy with (and so were the kids!).
This recipe contains all GAPS-friendly ingredients, which is great for those trying to reverse food allergies. (We were working on a dairy allergy at the time with my son.) The gelatin and optional probiotics are gut-soothing and supportive of skin, hair, and nail growth. And if you use some of the variations below, you can work in even more health-boosting ingredients.
Marshmallow Variations
- More on the marshmallow root option – Since I came up with the first marshmallow recipe, I came up with a way to add marshmallow root for additional health benefits. This anti-inflammatory herb is known for its soothing, cooling effects and is great on a sore throat. Using it is entirely optional (I indicate this in the recipe), but if you’re going to have sugar, might as well have anti-inflammatories with it! I also think it makes it a little more authentic.
- Matcha Marshmallow – Try my matcha marshmallow recipe for a different healthy marshmallow option. I originally came up with this one day when contemplating how to color the marshmallows to make them more festive. Of course, I didn’t want to use artificial food dye, and my eye fell on our powdered matcha tea. Bingo! Delicious, colorful marshmallows with the additional health benefits of matcha tea.
- Elderberry Marshmallow – No kid will turn down this remedy! Immune-boosting elderberry syrup makes these marshmallows the perfect soothing treat when cold season hits.
- Marshmallow “fluff” – Reduce the gelatin for a thinner consistency. I got the “fluff” texture when I used around 2 tablespoons of gelatin.

Healthy Marshmallow Recipe
Servings
Ingredients
- 1 TBSP marshmallow root powder (optional)
- 1 cup water (warm, divided)
- ¼ cup gelatin
- 1 cup honey (or maple syrup)
- 2 tsp vanilla extract (or mint or lemon extract, etc.)
- 2 tsp cocoa powder (optional)
- 4 capsules probiotics (optional)
Instructions
- Grease a 9×13 inch baking dish with coconut oil or line it with parchment paper, leaving some on the sides to be able to pull up.
- If using the marshmallow root powder, combine 1 cup of warm water with the marshmallow root and set aside for 5 minutes (or as long as overnight in the fridge).
- Stir well and strain. Make sure that the liquid makes a whole cup, adding more water if necessary.
- Pour ½ cup of the prepared marshmallow root infusion into the bowl of a stand mixer. Add the gelatin. Whisk slightly to incorporate and set aside. If not using the marshmallow root simply pour ½ cup of warm water into the mixing bowl, add gelatin, whisk slightly, and set aside.
- Pour the other ½ cup of water (or marshmallow root infusion) and 1 cup of honey, and cocoa powder if using, into a small saucepan and whisk to combine.
- Slowly bring the water and honey mixture to a boil while stirring. If you have a kitchen thermometer (and I recommend it), you want it to reach at least 240°F. If you don’t have a kitchen thermometer, just keep boiling, stirring constantly for 8 minutes.
- Turn on the mixer with the liquid/gelatin mixture to medium speed and whisk while slowly pouring the honey/liquid mixture into the mixing bowl.
- Once the honey mixture is added, turn the mixer to high and whisk for another 10-15 minutes or until it forms a stiff cream. It should form soft peaks like marshmallow cream. Don't overmix or they can get too hard.
- Add the probiotics and any added flavors for the last 2 minutes of mixing.
- Once marshmallows are whipped, pour them into the lined/greased dish and smooth out evenly. Damp fingers work well for this.
- Let rest for at least 4 hours (overnight is better).
- Flip onto a cutting board and cut with a well-oiled pizza cutter or knife.
- Store in an airtight container on the counter.
Nutrition
Notes
Have you ever made a dessert like this? Will you try these? What flavors would you add? Share below!


Leave a Reply