Imagine yourself in the grocery store picking out the perfect collection of organic apples. You look around, only to discover that you have no option other than to put your fruit into a plastic bag. Not only are they thin and easily torn, they expose your food to the dangers of plastic and have a negative impact on the environment.
There are many non-plastic options for produce bags but did you know they are incredibly easy to make yourself? In fact, I spent more time setting up my sewing supplies than I did actually sewing! (Only very basic sewing skills are required for this super easy DIY project.)
Depending on the supplies you use, these reusable produce bags can be made for next to nothing. You can repurpose a worn or out-dated t-shirt and a spare shoelace as a drawstring for a virtually free bag.
No matter what supplies you use, this easy tutorial will show you how to make you own produce bags to take along on your next shopping trip.
Homemade Produce Bag Supplies
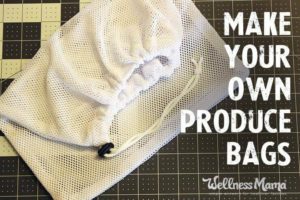 Fabric: This is a matter of preference. I have used both organic cotton muslin and a lightweight polyester mesh with a light stretch. As I mentioned above, an old t-shirt or any other lightweight fabric you have on hand will work well. Remember that your bag will be weighed along with your produce so you don’t want to add more weight than is necessary.
I did make sure that the fabric was washable before I chose one. Some mesh fabrics require special care when washing but I want to be able to toss it in with my regular laundry if/when it becomes soiled.
The organic cotton muslin was the easiest to work with and cinched very well with the drawstring, so this is what I would recommend for a beginner. Plus you have the added benefit of using organic fabric.
Bag Closure Options: There are several ways you could finish the top of your produce bags:
The absolute easiest way would be to just finish the edge with a simple hem. This technique would leave the top of your bag open similar to the plastic bags provided at the store. The drawback would be that your produce would have the possibility of falling out of the bag. However, you could use a silicone bag clip to fasten it, keeping everything safely inside.
Another simple solution is to use elastic. I would not recommend this if you buy a lot of bulk nuts or other small items but it works great for larger things like apples, tomatoes, and avocados. Just measure a piece of 1/4″ wide elastic (measure with the elastic fully stretched) the same length as the circumference of your bag plus 1/2″ for overlap. Then insert it into a casing the same way you would for an elastic waistband.
The closure type I most prefer is a drawstring. I purchased a 1/8″ cable cord and also later realized that a large round shoelace would work well. The cotton muslin stayed closed quite well but the mesh slipped a bit on the drawstring so I put a cord lock on that bag for added security.
Other Supplies
- Sewing machine
- fabric scissors or rotary cutter and quilting mat
- measuring tape or quilting ruler if you are using a rotary cutter
- thread
- safety pin for inserting drawstring
- iron for pressing hems and seams (not necessary but helpful)
- sewing pins (not necessary but helpful)
DIY Produce Bag Directions
This tutorial will show you how to make a drawstring produce bag that is roughly 12″ wide by 14″ long using a lightweight organic cotton muslin. Use 1/2″ seam allowances unless otherwise stated.
1. Lay your fabric out so that it is 2 layers thick.
2. Cut a 13″ by 16″ rectangle (this will give you 2 pieces).
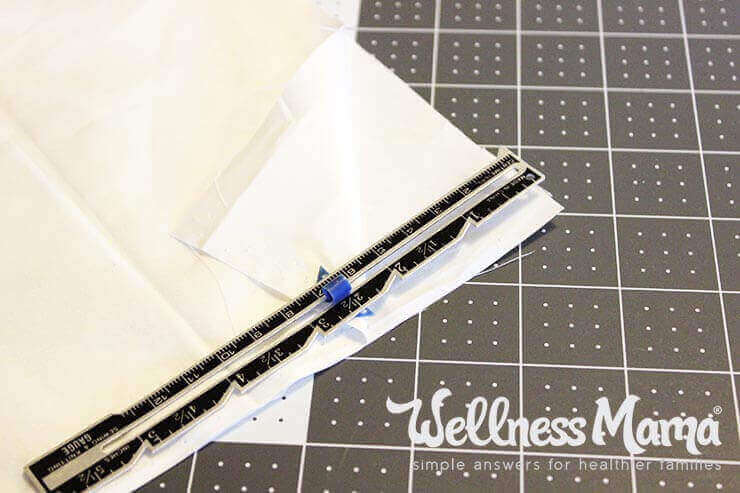
3. With the 2 pieces together, measure down 2.5″ on one of the long ends. Mark this spot with a straight pin. You will leave these 2.5″ open to leave room to make the drawstring casing.
4. Starting at the straight pin you placed in step 2, sew a seam around the rectangle on 3 sides, leaving the last side (top of bag) and the 2.5″ on the side open.
5. Along the top edge, fold over 1/2″ to the wrong side and press with your iron.
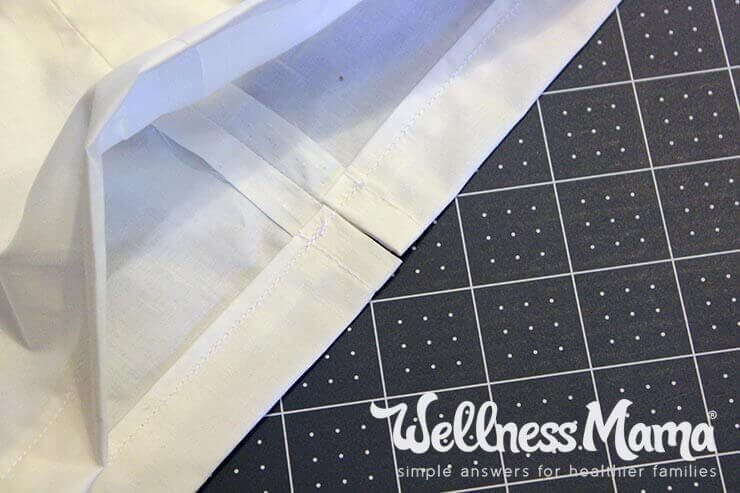
6. On the side with the open section, press open the seam allowance including the 2.5″ opening.
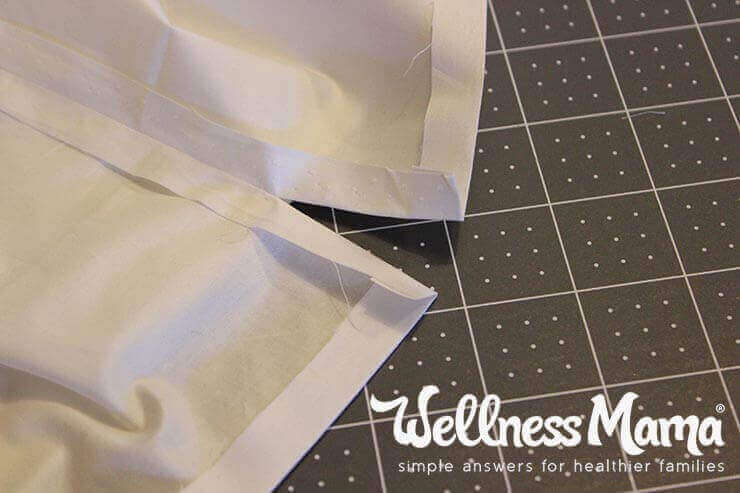
7. Starting at the top edge, stitch down to the bottom of the 2.5″ opening. Stop, pivot, and sew across the side seam about 1″. Stop, pivot, and sew back up the other side, ending at the top edge.
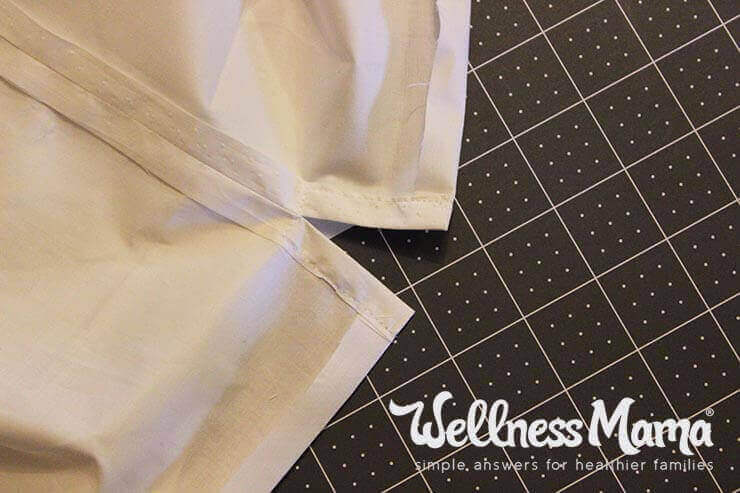
8. To make the casing for the drawstring, fold over 1″ around the top edge to the wrong side and press.
9. Stitch all the way around just inside the bottom of the 1″ fold forming a casing for your drawstring.
10. Cut the 1/8″ cable cord long enough to go all the way around the bag through the casing and have enough to tie a knot. I cut mine about 34″.
11. Wrap a piece of tape around each end.
12. Put the safety pin through one taped end of your cord and use it to feed the cord through the casing.
13. Put both ends together and tie an overhand knot.
I also made a smaller size that would be handy for buying things like kiwi, ginger root, or 3-4 average sized apples. The finished size of the smaller bag was 8″x 10″ so I cut the initial pieces 9″x 12″.
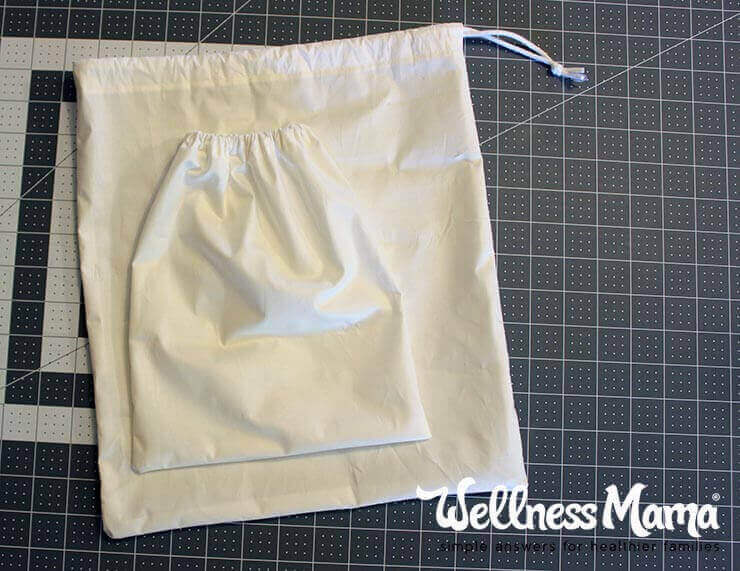
You can really make any size you would like. Just take the finished dimensions you want and add 2″ to the long side of the bag (so you have plenty of room to make the casing for the drawstring) and 1″ to the width.
Making the switch to cloth produce bags is an easy way to reduce plastic use in your daily life. Here are some other tips.
Ever made your own grocery bags? What other changes have you made to avoid plastic?



Leave a Reply