

We do a lot of art projects at our house and it’s something I really encourage my kids to do. Just like our food and personal care products though, I tried to give my little ones art supplies that were as natural as possible. Here’s how to make crayons you can feel good about.
My older kids are more interested now in sketching and painting than making a crayon masterpiece. However, natural crayons were a big hit when they were little. And my youngest still likes coloring books too.
That’s why I love DIY art supplies like homemade (and edible!) finger paint and gluten-free play dough. Homemade crayons are another great way to ensure that kids who like to stick them in their mouths aren’t harmed.
How to Make Crayons
Most of the tutorials out there aren’t really for how to make crayons, but more on how to reuse old ones. First, you take different colors of old crayons and remove the wrappers. You then break the crayons into small pieces and put the unwrapped, broken crayon pieces into silicone molds. It’s easy to make rainbow crayons this way by using different crayon colors in the same mold.
You can “make” new crayons out of Crayola crayons this way, but I prefer to make DIY crayons with natural ingredients. Plus it’s a fun project!
The Problem With Art Supplies
As much as my kids and I love doing art, there are a lot of toxic art supplies out there. Unfortunately, sometimes that applies to crayons too. While it’s true crayons are labeled as non-toxic, certain colors have been found to contain lead or asbestos. Off brand and imported crayons were most likely to be contaminated.
While the amounts were tiny, it’s still more than the FDA allowed limit for food. Crayon wrappers and crayons aren’t food, but some little ones seem to think they are! That’s why I like it when kids’ crafts and art supplies are safe enough to eat, like this natural slime.
Easy DIY Crayons
Making your own crayons isn’t quite as easy as using just beeswax and food coloring though.
The secret, as it turns out . . .
Is a blend of cocoa butter (or tallow), fruit and veggie pigments, and carnauba wax. Carnauba comes from Brazilian palm tree leaves, known as the “Tree of Life. “ It’s a food-grade wax similar to beeswax, but it holds color better.
Beeswax Vs. Carnauba
Crayons made with beeswax take longer to cool than carnauba-based crayons. This causes the pigment to settle more on one side than the other with the beeswax crayons.
Also, after a few days, beeswax crayons form a white powdery layer on the outside. If you rub them in the color returns, so if you want to make beeswax instead of carnauba wax crayons it is possible
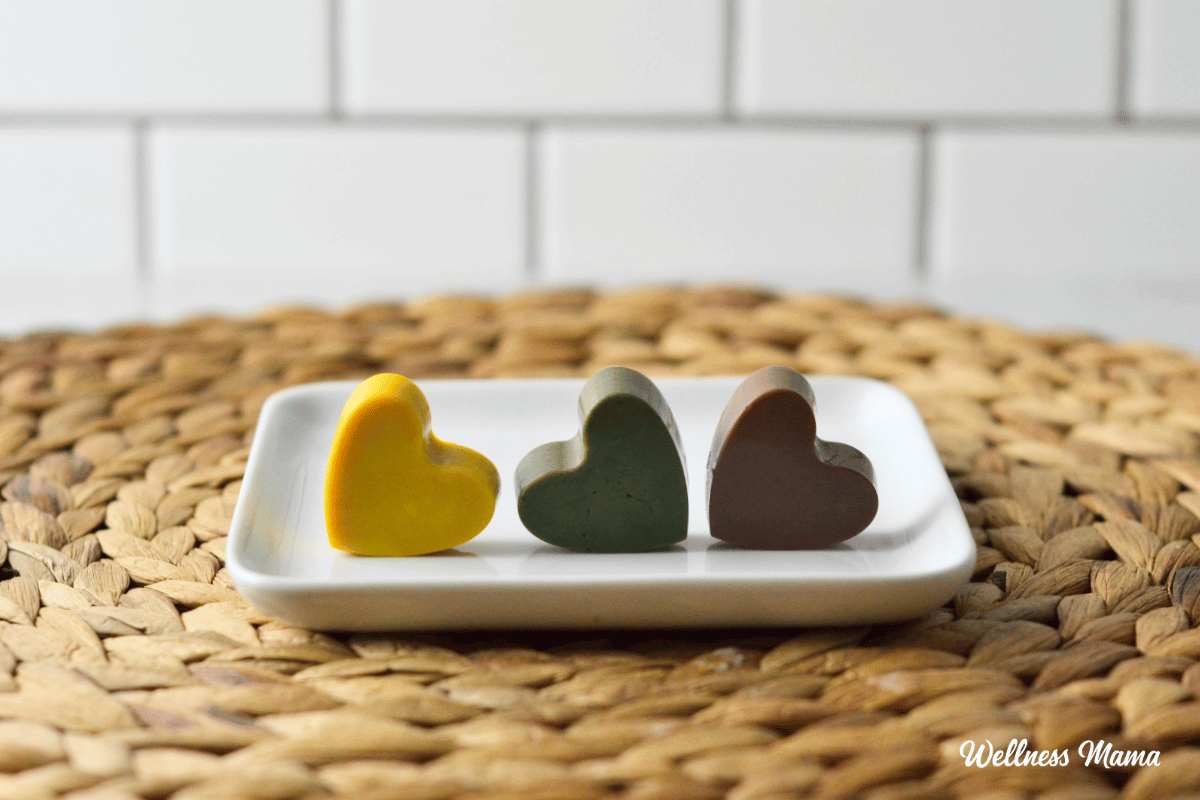
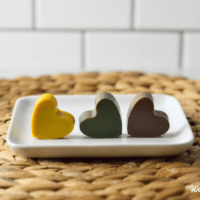
Either way, these crayons are perfect for little hands that are still developing fine motor skills! The yellow, orange, and brown are as smooth as store-bought crayons. The pink and green are a little less smooth, but still totally usable.
You can use your homemade crayons as party favors for a little one’s birthday. They’re also great for Valentine’s Day gift bags. While you’re at it, check out these other Valentine’s craft ideas for more non-food gifts too. You can use different molds to make these crayons depending on what your kids like. Try hearts, dinosaurs, legos, or even robots.
Homemade Natural Crayons
Materials
- ¼ cup carnauba wax flakes
- ⅓ cup cocoa butter (or tallow)
Natural Pigments
- 5 tsp beet powder (for pink)
- 1 and ¼ tsp turmeric (for yellow)
- 1 and ¼ tsp annatto powder (for orange)
- 1 and ¼ tsp chlorella powder (for green)
- 2 and ¼ tsp raw cacao powder (for brown)
Instructions
- Gently melt the carnauba and cocoa butter of tallow in a double boiler. You can also use a glass bowl on top of a pot filled partway with water.
- Once melted, whisk your pigment of choice into the hot wax.
- Quickly pour the melted crayon mixture into your crayon molds. You can use silicone molds in different shapes (like lego or stars). Muffin tins or silicone ice cube trays can also work.
- Let cool completely before removing, about 20 minutes.
- Repeat steps 1-4 to make other colors as desired.
Notes
Tips for Making Crayons
The beetroot from the pink crayons doesn’t mix completely into the wax. You’ll notice some large beetroot particles in the bottom of the pan, so don’t pour these into the mold. The sludge at the bottom can make your DIY crayons gritty.
Spices like annatto, cayenne, and paprika settle a little more to one side so the crayons aren’t evenly colored. They’ll still work though!
Have you ever made your own art supplies before? Which colors will you try first? Leave a comment and share below!

Leave a Reply