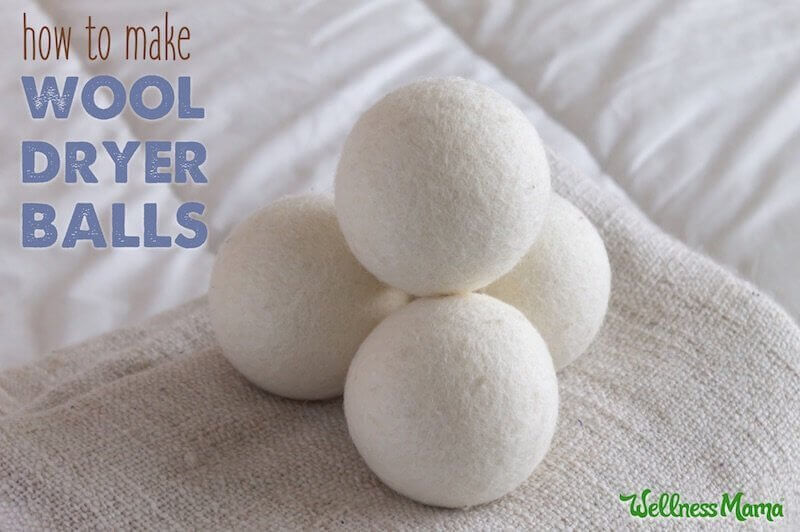
Ask any mom… laundry is a never-ending job in a family! I am always looking for a way to save time on laundry and I certainly like helping the environment, so these wool dryer balls made it on my DIY project list.
These wool dryer balls are easy to make and serve a very practical purpose: they help decrease drying time by separating clothes in the dryer to allow more air flow. Less drying time means less energy used, which helps the environment (and saves money!)
What’s more, they eliminate static, make clothes soft, decrease wear and tear, and are the perfect way to scent laundry naturally with a few drops of essential oil.
No more chemical-filled dryer sheets? Sold!
Why Use Wool?
What makes wool special? Wool is a natural fiber that resists melting and is flame-resistant, making it perfect for use in the dryer. In addition, thanks to the protective properties of natural lanolin in wool, these balls will not retain water or mold.
So how to turn wool into a ball? Felting! Heat, moisture, agitation, and pressure turn wool into a smooth fabric. That’s great for projects like this but also the reason it is not recommended to wash wool clothing in a machine. (Learned that the hard way with my favorite sweater in college!)
What About Washable Wool?
Washable wool is not pure wool and does not behave the same way. Chemical compounds coat the strands of wool and make it impossible to felt. These chemicals are permanent and will never wear off. While this makes wool clothing easier to clean, it does not make dryer balls (and also increases exposure to chemicals).
How to Make Wool Dryer Balls
While you can buy dryer balls, felting is fun and making your own saves money. Here’s what you need for the DIY version:
Materials Needed
Make sure that the yarn used is 100% pure wool. Only pure wool will felt, or shrink, and form solid balls.
- 100% pure wool yarn
- wool roving (optional)
- crochet needle or blunt-tip needle
- cotton yarn or other dryer-safe string
- pantyhose or knee-high stockings)
Instructions
- Begin with wool yarn. Wrap around three fingers 8-12 times.
- Twist yarn into figure 8 to form a little “bundle.”
- Wrap yarn around center of bundle.
- Continue wrapping around, alternating direction until it forms a small ball. I found this tutorial helpful.
- Wrap yarn until you reach a ball that is the size of a tennis ball or softball.
- Use blunt needle or crochet hook to pull a length of wool yarn under several layers of the ball.
- Pull yarn end out and clip with scissors.
- Cover ball with one layer of wool roving. (This is optional but will make ball smoother)
- Repeat step of pulling roving through ball.
- Make 3 – 6 balls repeating steps 1 through 9.
- Cut off legs of pantyhose and drop balls into the legs.
- Tie off with cotton yarn to separate balls.
- Wash collection of yarn balls in a hot wash with detergent.
- Dry on high heat.
- Repeat if balls need additional felting. (You will know they are ready if they look smooth and feel compact.)
- Cut balls free from pantyhose, and use!
How to Use Wool Dryer Balls
- Wool balls can live in the dryer because the wool will not hold onto moisture, so there is no risk of mildew or mold. It’s recommended to use three to six balls for best results.
- Adding just a couple of drops of essential oils to each ball with freshen a whole load of laundry.
- Most dryer balls will last about 1000 washes. If they start to come apart, try re-felting them in a hot wash.
What Color Yarn Is Best?
Bold-colored yarn may look pretty all felted, but those colors won’t be as pretty on your clothes! Light or undyed wool is best. I have a friend who spins her own yarn, so I used a natural skein from her alpacas.
If you find you are short on time and are searching for a pre-made alternative, Branch Basics has wool dryer balls that are free of pesticides, dyes and fragrance and will last between 3-5 years!
Enjoy cleaner, more natural laundry in less time!
Have you tried wool dryer balls? What did you think?


Leave a Reply