
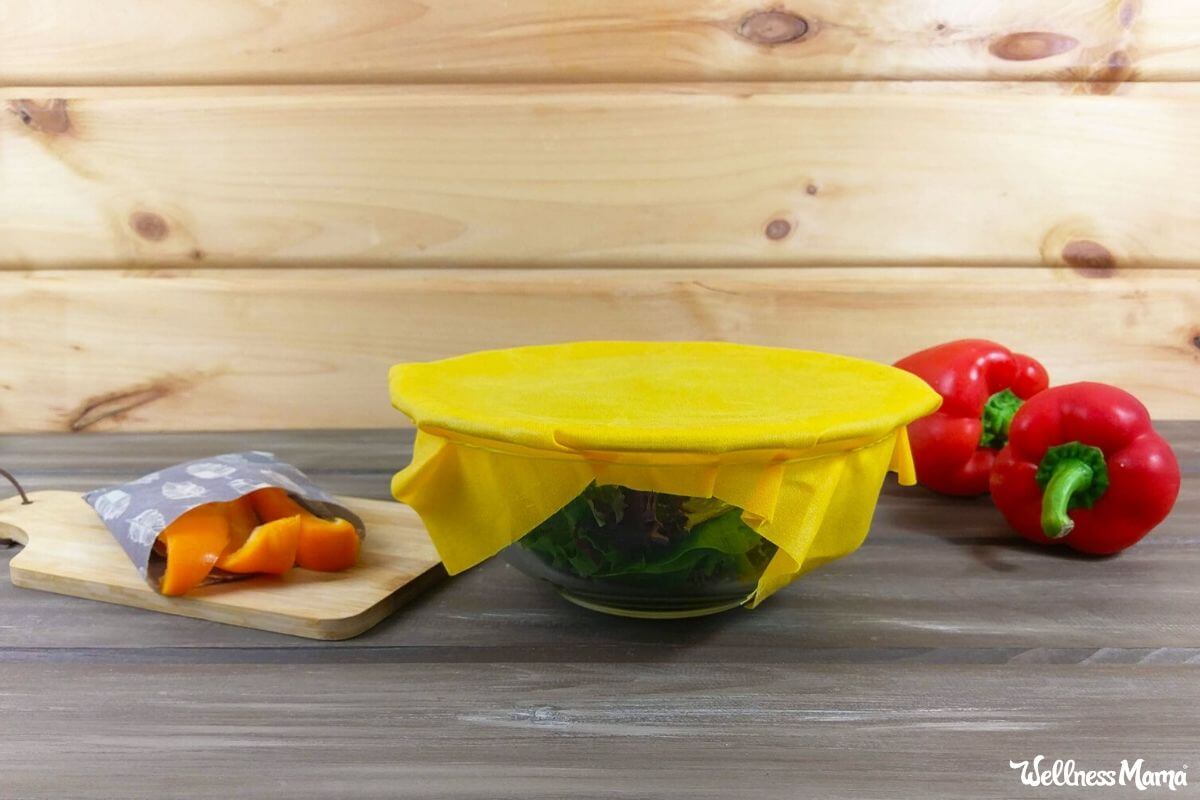

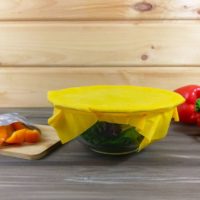
There’s a lot of reasons to ditch plastic (especially around food!). But things like plastic wrap covered leftovers are pretty convenient. Reusable food wraps made from fabric and beeswax are a great way to get the best of both worlds, without the harmful effects.
And they’re fun to make and beautiful to look at!
Why Reusable Food Wraps?
Plastic wrap, aluminum foil, and plastic containers are the typical go-to for food storage. They’re not the best option though. Plastics contain endocrine disruptors like BPA. The BPA free versions likely aren’t much better. BPA free plastics are often made with the chemical BPS instead, which some experts say is even worse.
Aluminum foil has its own problems. This common heavy metal is potentially linked with some serious health problems, like Alzheimer’s and cancer. While the science isn’t as conclusive on this one, I prefer to stay on the safe side and skip it!
How to Make Your Own DIY Beeswax Food Wraps
There are several different ways to make these, but this method is the one I felt worked best for me. Some recipes call for pine rosin (also known as pine resin), while others are just beeswax and oil. I tried a version with very little pine rosin and it had zero stick. Cling wrap alternatives don’t work so well in my book if they aren’t, well… clingy.
Pros and Cons of Fabric & Beeswax Wraps
Pros:
- They give leftovers a pretty makeover.
- They’re a great alternative to plastic wrap and aluminum foil.
- More eco-friendly and safer for humans than some other options.
Cons:
- They can’t be used with raw meat or liquidy foods.
- They do need some maintenance (albeit minimal).
- Some find they leave a slight residue on certain containers.
No Time to DIY?
Good news… there are lots of great ready-made wraps you can buy instead of DIY!
For all you DIY-die hards looking for a project, here’s how to make your own:
How to Make Reusable Food Wraps
Equipment
- Paint brush (one that can be sacrificed to the cause)
Materials
- 1 TBSP jojoba oil
- ¼ cup beeswax pellets (grated or in pellets)
- ¼ cup pine resin (also called pine resin)
Instructions
- Preheat the oven to 250°F.
- In the pint-size mason jar, combine the jojoba oil, beeswax and pine rosin.
- Place the steamer basket into the pot and put the mason jar on it.
- Fill the pot nearly full with water. You want to cover the beeswax mixture as much as possible, without overflowing water onto the stove or getting any in the jar.
- Heat over medium-high heat, stirring until well combined and melted, about 20 minutes. The pine rosin takes longer to melt and needs scraped off of the bottom during stirring. I used a disposable wooden chopstick for this for easy cleanup.
- While the beeswax mixture is melting, cut the fabric into the desired size and shape. I made 8×8 and some 11×11 squares. Pinking shears are ideal to avoid frayed edges, but regular scissors will also get the job done.
- Cover the cookie sheet with parchment paper and lay a piece of fabric on top.
- Brush the melted beeswax mixture evenly over the fabric. It will harden quickly, but that’s ok. You want to saturate the fabric, but not over saturate it.
- Pop the cookie sheet into the oven for about 2 minutes, or until the beeswax mixture is melted.
- Use the brush to spread the mixture more evenly over the fabric. You may have to put it back into the oven again and repeat the process.
- Lay another piece of fabric over the beeswax wrap you just made and press it down to absorb the excess.
- If you’re doing a lot of wraps, the parchment paper may need to be replaced part of the way through. I found that mine started to get too messy and over saturated my wraps.
- When you’re on the last wrap, use a paper towel to blot up the excess beeswax mixture.
- Once the wrap is done, hang it up to dry. I laid mine over the back of my kitchen chairs to dry.
Notes
Beeswax Food Wrap FAQs
This is a pretty easy project, but a little troubleshooting may be necessary depending on the fabric you’re using, the humidity in your area, etc.
Mine turned out too sticky… what do I do?
If the wraps are too sticky even after drying for several hours there are a few easy fixes.
- Pop them back in the oven and blot with a paper towel (what I did).
- Some people prefer to use an iron. Place several paper towels on top of the wrap and iron the paper towels.
What if they aren’t sticky enough?
- There may not be enough beeswax mixture on the fabric.
- The fabric may be too thick. Thin material, like a bedsheet, works best.
- If all else fails you can always use a rubber band or kitchen twine to secure the wrap onto your container.
How long does beeswax cling wrap last?
If taken care of, beeswax food wraps can last quite a while. Every 6 -12 months you can refresh the wraps so they stay sticky. Put the wraps back in the oven and brush a fresh coat of beeswax mixture on them.
How do you clean them?
We’re using all food-safe ingredients and the jojoba oil naturally has antibacterial and antifungal properties (source). However, it’s important to keep the wraps clean.
- Handwash the beeswax food wraps with cool, soapy water.
- Don’t use hot water since this will degrade the covering on the fabric.
- Lay somewhere, like over the back of a wooden or metal chair to dry.
Can you use them on all foods?
Even though beeswax wraps are great for leftovers, there are a few foods to avoid. It’s best to use a lidded glass dish for items that need an airtight seal or messy foods like raw meat. Here are the food storage options I use in my own kitchen.
How do you like to store your leftovers? Are you fan of reusable food wraps?

Leave a Reply