

Finding low-clutter toys is a great way to reduce the overwhelming stuff in the house. But any parent will tell you… one thing that can get out of control quickly (but I can’t just toss out) is children’s art. It’s beautiful and important — but it’s everywhere!
Art that’s not displayed isn’t being enjoyed, so I wanted to find some fun ways to display the kids’ art and make the pieces we do keep purposeful.
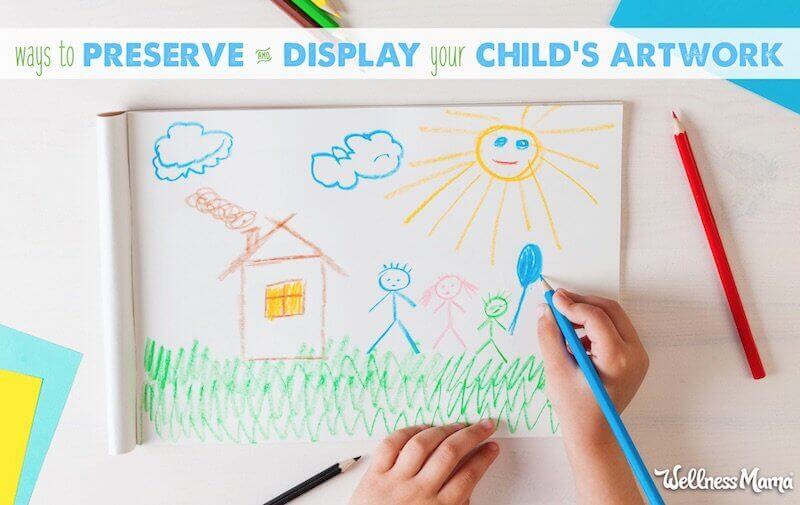
Art, Art, Everywhere…
Imagine for a minute the sheer volume of artwork a homeschooling family of six kids can churn out in a day. All the papers, science projects, art class creations, doodles, and notes… they have to go somewhere!
Since my kids seem to be able to sense (from anywhere in the house) if I’ve thrown away a piece of their artwork, I needed to find another way to manage it.
We have taken steps as a family to try and minimize clutter, but of course the object isn’t to erase all traces of the kids’ mess creativity from the house.
In fact, I’d rather have art that is original and meaningful on our walls (like our favorite quotes) than buy something from the store.
So, kids’ artwork it is!
How to Organize Kids’ Art (or at Least Attempt It…)
I still haven’t settled on the perfect solution (is there one?), but here are some ideas we’re trying:
Homemade Art Book
This homemade art book is a fun way to keep art organized and in one place. It’s a very simple handmade approach but it gets the job done: preserving memories.
This is a great one to do with the kids!
- Collect the art (usually scattered around every horizontal surface or plastered to the fridge).
- Arrange them in a neat way and trim pages that are too big or frame pages that are too small. Ideally you want each page to be the same size (8 ½ x 11).
- Choose a piece of construction paper (11 x 17).
- Fold the construction paper in half width-wise.
- Open the construction paper back up and place artwork inside (the side touching the crease of the paper will be the binding).
- Fold the construction paper over the stack of art and staple the binding. (You may need a heavy duty stapler for this!)
- Write the child’s name and date on the cover, and let them decorate it to their heart’s content.
You can then store the book in a plastic sleeve or just leave it out for the family to look through.
Printed Art Book
Another way to archive children’s artwork is to create a professional artbook. There are many services available to do this but I think Mixbooks is the easiest and least expensive way to make one (and if you have more than one kiddo, that’s important!).
- Take photos of the art you want to archive
- Choose a template
- Upload the photos
- Customize the book
It’s pretty simple and can gather a lot of art into one small space (a professional book). Since I already make the kids a photobook as gift each year, I plan to start mixing in some photos of their favorite art pieces.
Art Wall
If your children make lots of amazing art for different holidays you can easily make an art wall that can be changed with the seasons. Each time your child makes a piece of art that is seasonal or holiday specific, frame it in a small frame (be sure to buy extras for future pieces so they all “go” together). During different seasons of the year you can pull out different “families” of art.
We also love these frames that function like display cabinets for kids’ art. They fit most decor styles and easily open and close from the front. They also act as storage since they store up to 50 pieces of artwork! You can buy single frames or more elaborate gallery sets.
Collage
If you aren’t dealing with masterpieces but smaller doodles, notes, or parts of drawings, a collage may appeal to your budding artist’s creative side. Bonus: Many pieces of artwork combine into one that is easy to display.
A collage frame like this one gives a nice polished result if a glue-and-scissors creation doesn’t sound like your thing.
Hanging Wall Display
Though our kids make a million pieces of art a day (that’s just an estimate) there are definitely some pieces that are favorites. A hanging wall display is an easy and cute way to display favorite art pieces. These kind of hanging displays let you or your child swap out art so it always looks fresh.
One way to do this is to make the display yourself. For a simple solution string up a thin piece of wire and use art clips like these to hold the art up. This gives a kind of old-school photography vibe to the space too!
You can also buy premade displays that have all the pieces and you just need to put it together.
Art Doll
Every piece of children’s art is precious, right? But once in a while there’s a really amazing drawing that stands out. One way to preserve these drawings is to make it into a stuffed doll.
There are services available that will do this for you, but I found a tutorial on how to create one of your own. Basically you just look at the drawing and think about what ways you could make it with fabric.
What’s really fun about it is that since the drawing isn’t perfect, the doll/stuffed toy doesn’t have to be either. Anyone with basic sewing skills can take this on.
Greeting Cards
You know those tiny drawings that the kids make on huge pieces of paper? (You know you do). They are perfect for cutting out and gluing to a greeting or thank you card. Have your child write a note to a friend or family member (or you can help them) and send the cards out. Kids are excited that someone gets to enjoy the art, the recipient is excited that they were thought of, and you can be excited for one less piece of art to find a home for!
Teaching Kids to Care for Their Own Art
All of these ideas are great for the most favorite pieces of art, but what about all of the practice pieces, the half-crumpled pieces, and the pieces that are only a single dot? My kids want to keep these pieces of art too. Kids need to learn to be discerning with their creations.
Involve Your Child
Many parents want to keep every last drawing (especially if the child asks to keep it) but there has to be a limit. Ask your child if he wants to keep his art or recycle it. If he says keep, remind him that you can’t keep everything so he should be really sure. Likely he will still want to keep everything but it will get him to start thinking about which pieces are more important than others (and even which ones really aren’t important to him).
Place a Limit
Decide how much is enough. For example, you might be fine with the idea of one art wall, but any extra needs to be recycled (or needs to replace another piece). This helps define boundaries for kids which helps them to practice decision-making and responsibility.
Don’t Be Afraid to Toss It
Chucking unloved art is usually harder on the parent than the child (I promise!). Once you begin involving kids in deciding which pieces should be kept and which can go, they’ll get used to the idea that they can’t keep it all. Remind yourself that you’re helping them build an important skill for their future!
What are your best tips for preserving and displaying kids’ art? I’m sure you have some great ideas I haven’t tried!

Leave a Reply