

I use lots of herbs and spices in my house, both for flavor and for the health benefits. Some are culinary and others are used for tinctures, salves, skin, and beauty recipes. Dried herbs are fine for many uses but there’s nothing like fresh herbs to give a dish a little something extra. If you’re looking for fresh herbs without the price tag, a great option is growing your own herb garden. You can certainly grow one out-of-doors, but even more convenient is an indoor herb garden, since it’s right in the kitchen!
Whether it’s on a sunny kitchen windowsill or with the help of a grow light, nothing beats picking fresh herbs whenever you need them. The flavor profile just can’t be beat (not to mention how good they smell!).
Herbs are nutrient powerhouses and surprisingly hardy and easy to grow, so this is a great experiment for a new gardener or for someone who just loves fresh herbs.
Why Plant an Indoor Herb Garden?
When trying to eat healthy, a garden is an amazing asset. But if you live in the city you may not have outdoor space for one. Even if you do have outdoor garden space, if you live somewhere that gets cold in the winter, you may have a gap in gardening each winter. That’s where the kitchen herb garden comes in.
An indoor herb garden is a great way to have fresh herbs all year long and in almost any climate. Herbs are an amazing source of natural medicine, and fresh herbs are usually even more potent (and flavorful!) than dried.
Made into teas and tinctures, herbs can be used for many ailments from colds and upset stomach to chronic disease. Made into salves and ointments, herbal blends can be used for skin conditions, wounds, topical healing, and more.
How to Choose Herbs
There’s no benefit to growing herbs you aren’t going to use. Start with the ones you use often. Take into consideration the medicinal properties of the herb, too. If you’re still not sure which to grow, here are some ideas:
- Rosemary – This herb is spicy and warm and great paired with beef, lamb, or chicken. Rosemary also has many medicinal properties. It is excellent for skin and can be helpful for eczema and, when used in a hair rinse, dandruff. Rosemary is also helpful for keeping rodents and mosquitoes away.
- Thyme – Thyme is most often used as a spice in culinary uses and its aromatic and rich flavor is perfect for soups, stews, and marinades. Medicinally, thyme is great for coughs and congestion (though be cautious as high amounts could be dangerous).
- Oregano – Oregano is often used in Greek and Italian food (especially tomato dishes). Oregano is also anti-microbial and is a great addition to a meal eaten during illness.
- Mint – Mint is a tasty herb that adds some freshness to any dish (especially lamb!). Use peppermint for headache, tummy ache, or in toothpaste.
- Basil – Most well known as the main ingredient in pesto, basil is a delicious and mild herb. Basil can be used medicinally for colds, upset stomach, and headaches.
- Sage – Sage is a great herb to add to pork or turkey sausage and combines well with any other herb on this list. Sage can also be used medicinally for sore throat or indigestion.
While you can certainly start your herb garden from seeds, I prefer to get a quick start by purchasing herb plants from my local garden center or grocery store. They tend to be inexpensive and this way I don’t have to wait long until the plants are mature enough for harvesting fresh herbs when I need them.
Easy Tip: Want an indoor herb garden that will be the envy of all, without any guesswork? Try a complete herb garden kit like this one.
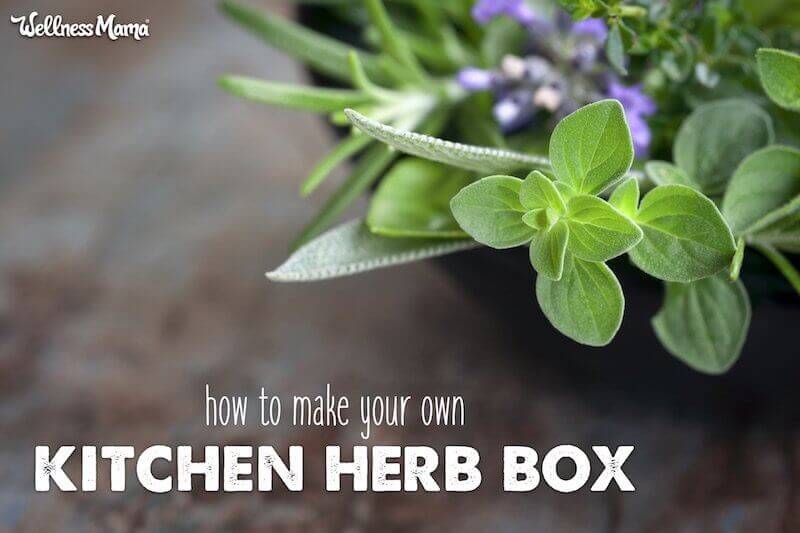
How to Make an Indoor Herb Garden
Making a kitchen garden box is really easy — no tools required!
- Choose a container. I like galvanized steel containers because they are attractive, safe, and easy to transform into a garden.
- Fill container with a shallow layer of rocks (this helps with drainage). You can gather some rocks from outside or purchase some aquarium rocks.
- Fill containers with potting soil up to 2 or 3 inches from the top. Be sure to use an organic potting soil (not garden soil). Potting soil is specifically mixed to hold the right amount of moisture in containers.
- Remove herbs from starter pots and loosen the roots gently with your fingers (crumble the soil away).
- Plant the herbs into the soil being sure not to overcrowd. The tag that comes with the plant should tell you how much space they need.
- Water thoroughly but lightly. You want to moisten the soil without making it overly soggy. There are many self-watering devices on the market (this one is adorable!) that take the guesswork out of this step.
- Place the herb garden in a sunny window and enjoy!
How to Care for Your Kitchen Herbs
Here are some tips for keeping your herb garden happy and thriving:
- Place herb box in a window with lots of sunlight (a south-facing window is best) with at least 4-6 hours of sunlight a day.
- Room temperature is perfect for most herbs but if you want them to slow down growth (like when you go on vacation) a cooler place (like the basement) can help them enter a more dormant state.
- An indoor grow light is necessary if you don’t have a good window.
- To keep plants from growing too tall and lanky, take cuttings from the top to encourage bushing out. No special scissors needed for tender plants like basil, just pinch off the tops of the stems with your fingers (being careful not to tug on the plant and dislodge the roots). Don’t be shy … harvesting from herbs often actually encourages growth and produces a more robust plant.
- Water regularly but don’t overwater. As mentioned, the soil should get wet but not soaked or soggy. Because the water drains into the bottom of the container (not out entirely) it’s important to not overwater. You can also drill holes in the bottom of the container and place the garden box on top of a pan or something similar.
- An automatic waterer can help keep plants watered without overwatering.
- Ideally, plant-drought tolerant plants in one planter with other herbs that need more water in another. However, you can plant them in one container and place the drought-tolerant herbs on one side and other herbs on the other side. This way you can water the plants according to their needs.
- Choose organic potting soil. Conventional soils may contain chemical fertilizers and even bits of Styrofoam (used to aerate).
- Every few weeks add an organic fertilizer to the water, like this compost tea.
Ready to Buy Instead of DIY?
If you’re short on time or patience for making your own indoor grow box, I recently decided to try the Family Harvest indoor garden from Aerogarden and we love it! The kids love watching the herbs and veggies grow right in the kitchen, and the cost was much less than other indoor garden systems I’ve researched.
Have you ever made an indoor herb garden? What are your tips?

Leave a Reply