
I don’t know about you, but I find that most baby bibs available in the store are of poor quality. Unless you are willing to fork over an arm and a leg for a piece of fabric your baby is going to drool and slobber on, you will often have to settle for what is offered.
DIY Baby Bibs
I was gifted some high quality bibs when my first was born and they were well loved. When I tried to replace them with new bibs of the same brand they were not the same! The quality was just not there anymore and the backing fabric shriveled in the dryer the first time I washed them.
So out of frustration, I set out to make my own. This gave me complete control over the fabric quality, pattern, and shape of the bib, and because bibs don’t require a lot of fabric, my cost was about the same as the cheap store ones even though I used higher quality fabric.
I sat down this week to make some bibs for a friend’s baby and I thought I would share with you a quick tutorial on how to make some of your own.
Choose Your Fabric
Small projects like bibs are fun because not only are they quick to complete, but you can make them for practically nothing. I used 2 pieces of fabric about 14″ by 16″. This would be very inexpensive to buy and free if you already have a stash of fabric or remnants leftover from another project.
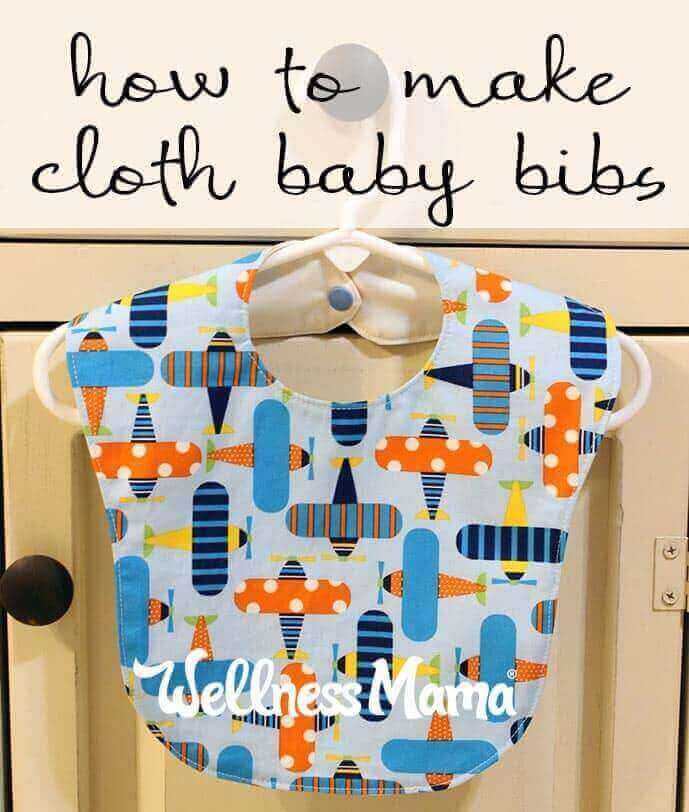
For this set of bibs I used an adorable organic cotton print for the front. There is a growing variety of organic cotton that have adorable prints using low-impact, organic dyes.
For the backing, I used PUL (polyurethane laminate). PUL is the same material used to make cloth diaper covers. This will give a little more protection for the baby’s clothing but is not necessary.
In the past, I have used terry cloth fabric for the backing. It doesn’t offer quite the same protection as the PUL but is still an excellent choice, especially if you want an all cotton option. An old towel works wonderfully for this.
You can also use a simple cotton muslin for the back layer. It is inexpensive and readily available. There are also organic versions offered.
Make A Pattern
There are a plethora of free baby bib patterns available around the web, but I used one of those gifted bibs as a pattern. (As tattered as they are I haven’t been able to part with them.)
If you are using a bib you already have, you will need to add a 1/2″ all the way around the bib when you make your pattern in order to allow for the seam allowance.
Lay the bib down on a piece of newspaper or butcher paper. Make sure the velcro or snap is undone so that the bib lays flat. Trace around the entire bib 1/2″ from the edge of the bib. I used a small sewing gauge ruler and worked my way around. Cut along the line you made. This piece will now be used as your pattern.
If you don’t have access to a bib to use for a pattern, feel free to use a free printable one. Or if you are super crafty, you can draw your own.
Choose Your Closure
I use a snap press to put a snap closure on my bibs. Hook and loop is also good for fastening bibs. This will just be a matter of choice and what you have access to.
Preparing to Sew: Instructions
- Pre-wash fabrics.
- Lay your pattern down face-up on the right side of a single thickness of your front fabric. If your fabric has a pattern, make sure it is going the right way in relation to the top of your pattern.
- Pin the pattern to your fabric and cut around the pattern.
- Flip the pattern over and pin it, wrong side up, to a single thickness of the right side of your backing fabric. Cut around the pattern.
- Pin the 2 bib pieces right sides together.
Sewing Instructions
- The pattern has a 1/2″ seam allowance, but I only sew the full 1/2″ allowance along the inside curve of the neck so that the neck opening is roomy around the baby’s neck. I sew a 1/4″ allowance around the top and outside of the bib.
- You need to leave an opening about 3″ wide along the bottom edge. Begin sewing at one of the bottom corners, sew all the way around the bib, stopping 3″ before you get to your starting point.
- Clip seams along the inside curve of the neck and cut notches anywhere else your bib curves outward. This will allow the seam allowance to lie flat when you flip it right side out.
- Turn the bib right side out by turning it through the 3″ opening.
- Press the bib focusing on the edges so that the seams lay flat.
- Make sure to press the 3″ opening under so that it is even with the seams on either side.
- Top-stitch 1/8″ from the edge all the way around.
- If you are using a snap press, add the snaps at the end of the wings that meet at the back of the neck.
- If you are using hook and loop, you will have to choose a width that is the right size for your bib pattern. Cut a piece about 1″ long and sew each side to the ends of the wings that meet at the back of the neck.
Making your cloth baby bibs is fun project, a great way to reuse old material, and should save a few dollars on store bought ones as well!
Will you try to make your own bibs?
Leave a Reply