
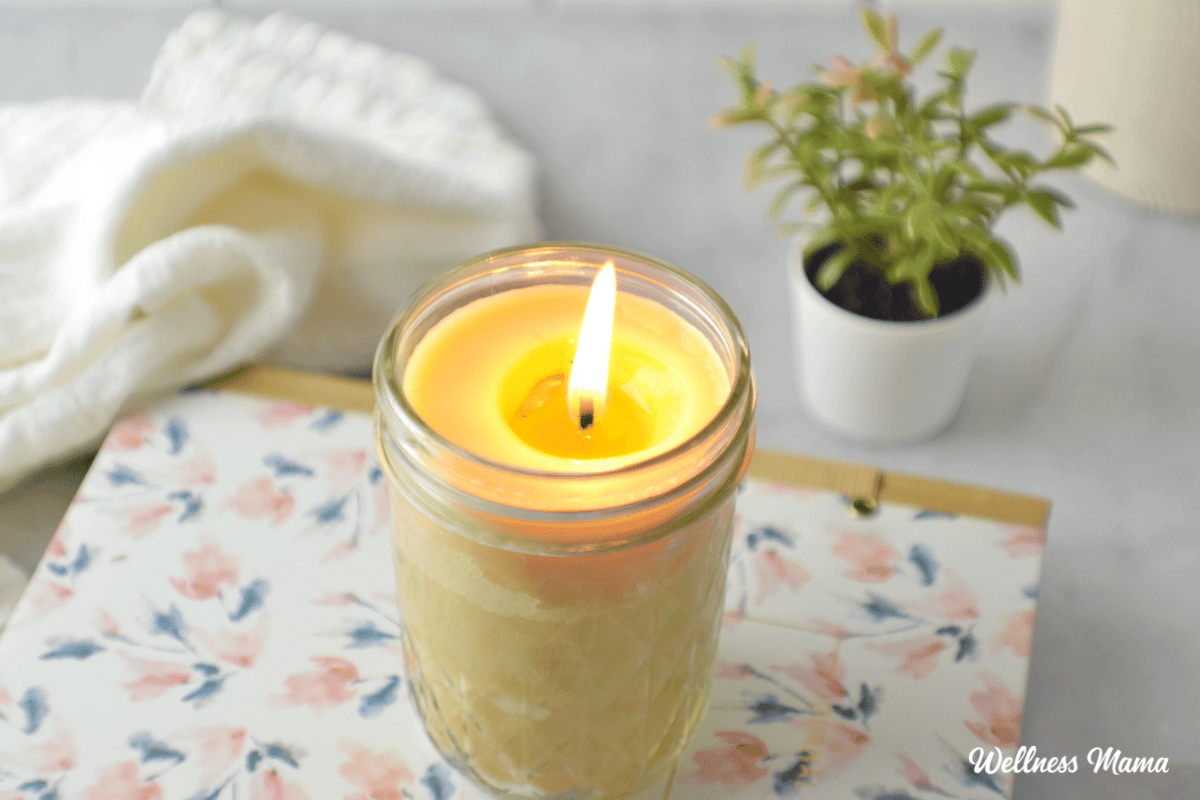
There’s something comforting about the soft, flickering glow of a scented candle. They add a sense of calm and warmth to your surroundings. While it was hard to give up regular candles, the downsides were too great to ignore. I’ve since learned how to make beeswax candles and now they’re all we use!
Beeswax Candles: A Natural Alternative
Beeswax candles are a great substitute for paraffin candles with fragrance oils. Even soy candles aren’t always the better option since over 90% of US soy is GMO and sprayed with pesticides. Beeswax candles though don’t pollute the home with carcinogens and other toxins and can help improve air quality.
Plus these natural wax candles smell amazing! You can find pure beeswax pillar candles, tea lights, votives, and even ones shaped like beehives.
The Best Beeswax for Candles
Beeswax candles can be pricey so candle-making is a great project that’s easy to do yourself. Even if you’re a beginner. I have some friends who are local beekeepers so I’m able to get beeswax from them. You might be surprised how many beekeepers live in your area. If you ask around, you may be able to get local beeswax. If not, it can be purchased at most craft stores or online at places like Amazon.
When making your own beeswax candles, there are a few different options. Beeswax pellets melt faster because they’re already in small pieces. These are often refined for impurities multiple times or even bleached. However, a beeswax block isn’t as refined and is much more fragrant. For the best-smelling candles you really can’t beat beeswax bars!
The Downside to DIY Beeswax Candles
Beeswax burns very hot so it can be tricky to find the right combination between the jar and the wick. I did a little experiment using regular mouth canning jars to find the ratio that burned the most evenly without burning away too quickly. I also tried a few different blends of wax and oils to see if they worked better than solid beeswax.
By blending the beeswax with a softer oil, you’re effectively bringing down the melting point of the candle. This helps create a mix that’s slightly softer for a more even candle burn. You don’t want it too soft or your candle will have too fast of a burn time.
How to Prevent Tunneling
You can absolutely use pure beeswax if you prefer. Just be aware the wick will “tunnel” down into the wax. You’ll be left with a ring of wax around the inside of the jar that won’t burn. This can simply be melted down once the wick is gone and reworked into a new candle.
It’s widely recommended to burn any poured candle for 1 hour per inch diameter of the jar the first time you burn it. This helps prevent the candle from tunneling. The goal is for the entire surface of the candle to be melted before you blow it out. If the entire surface doesn’t melt, the wick is probably too small for your jar.
How to Make Beeswax Candles
I used pure beeswax and two different blends for this experiment and used 2 different wick sizes. Since I chose half-pint canning jars for my glass containers, I used 2.5 inches as my guide for the jar opening and purchased an appropriate wick at a local craft store. I used a 60-ply wick that was recommended to me by a beekeeper for the second wick.
The first blend I used was a 50/50 mix of beeswax and palm shortening (sourced sustainably). For the second batch, I used a pound of beeswax and 1/2 cup of coconut oil. I made each of these blends and the pure beeswax with both sizes of cotton wicks and burned all 6 candles in the same environment for 4 hours before I blew them out.
And the Winner Is…
The coconut oil blend with the larger 60-ply wick! It was the only combination that burned a complete surface without burning away too quickly.
The pure beeswax burned slowly but quite hot so the surface never completely melted. And the beeswax/palm shortening blend melted far too quickly. A different ratio may work better but the coconut oil blend did such a good job that I’m sticking with that.
These pure beeswax candles are a great option (and the simplest to make) if you don’t mind the tunneling. It’s never bothered me since I just re-melt used candles into new candles anyway.
This recipe is for the beeswax/coconut oil blend. But if you want to experiment with other blends the process will still be the same so be brave and try it out!
Placing the Wick
I mentioned that the 60 ply #4 wick is what worked the best in this candle recipe. Instead of using wick stickers though, I just pressed the wick into the wax. I poured some of the melted beeswax mixture into the bottom of the jar and pressed the bottom of the wick in. Once it had hardened enough, I stretched the wick tight, wrapped it around a skewer, and poured the rest of the wax in.
I tried putting the wick in the center of a clothespin and propping that on the jar rim. It was a little harder to get the wick centered without the clothespin falling into the jar, but it did the job. The bamboo skewer worked better in my opinion.
Read Before Starting!
A note before you start: Beeswax is very difficult to remove from surfaces. I’ve designated a few tools specifically for this job so I do not have to worry too much about getting them clean. I use the same tools to make other DIY projects, like lotion bars and lip balms. I just melt and remove as much of the wax/oils between uses.
How to Make Beeswax Candles
Equipment
- 60-ply #4 candle wick (cut into 3, 6 inch pieces)
Materials
- 1 pound beeswax bar (or pellets)
- ½ cup coconut oil
- 1 tsp essential oils (optional)
Instructions
- Place the beeswax and oil into a metal pitcher or coffee can.
- Put the pitcher in the pot and fill it with a few inches of water. The water will eventually boil so you don't want to fill it so high that the water bubbles into the pitcher.
- Turn the stove onto medium heat and bring the water to a boil. Keep it at a gentle boil until all of the beeswax and oil have melted. After it's melted, add the essential oil if using.
- Once the beeswax is completely melted, pour a small amount into the bottom of each jar, about 1/2 inch. Return the pitcher to the hot water to keep the wax melted.
- Place a wick down into the wax in the center of each jar. You can use a skewer to make sure it's placed correctly by pushing the wick down and holding it there for a few minutes.
- Let the wax cool until it's solid enough to hold the wick in place, about 5-10 minutes.
- Wrap the top end of the wick around a bamboo skewer until it's taut with the skewer resting across the top of the jar. Use a small piece of tape to keep the wick from slipping off of the skewer.
- Hold onto the skewer and pour the remaining melted wax into each jar. Leave about an inch of space at the top of the glass jars.
- Reposition the skewer holding the wick as needed so it's in the center of the jar.
- Let cool completely! This can take several hours but it's best to leave them overnight. To help prevent cracking, put them in a warm place to slowly cool.
- Once the candles are hard, trim the wick to about 1/2 inch. Don't trim it any shorter than this or the candle will have a smaller flame and it's more likely to tunnel. After you light the candle, if it's flickering wildly or smoking, simply blow it out, trim the wick a bit more, and re-light.
- During the first burn keep the candle lit for at least 2.5 hours, or until the entire surface has melted.
Notes
Beeswax Candles FAQs
Over the years a lot of you have had questions about how to make beeswax candles. Here are some of the most common ones!
Can I Make Beeswax Candles Without Coconut Oil?
A few readers have mentioned they have coconut allergies. While the coconut oil did work better in my experience, there are a few other options here. One is to just use pure beeswax with the larger wick and deal with the tunneling. Another option is to use a liquid carrier oil like olive, avocado, or grapeseed oil.
I tried grapeseed oil and used a 1/4 cup along with the pound of beeswax. The candle jars weren’t quite as full, but they still worked okay. I did notice some more smoking.
How Do I Prevent Tunneling?
Adding coconut oil to lower the burn temperature helps prevent tunneling. Burning the candle for several hours or until the entire surface is melted also helps prevent tunneling.
Why Did My Beeswax Candle Crack?
Pure beeswax tends to crack if the candle cools too quickly. This shouldn’t affect its function but some people don’t like how it looks. My first batch of pure beeswax candles did crack on the surface since I let them cool down at room temperature.
I’ve heard that if you set the finished candle in warm water, it will cool slower and not crack. Another option is to set the candles in a warm oven to slowly cool. I preheated the oven to 170 degrees while my candle wax was melting, then turned the oven off once I put the candles in. This helped reduce the cracking.
Can I Add Essential Oils?
You can, but I didn’t for these. Beeswax bars smell like honey so I like it just on its own. If you’re using beeswax pellets though, they don’t have as strong of a scent. If you do want to add essential oils a good rule of thumb is 1-2 tsp of essential oil per half-pint jar. Stronger scents, like mint or lavender work best.
Does the Wick Need Primed?
Many candle makers recommend priming the wicks first. This helps to remove any excess air from the cotton for a cleaner burn. Personally, I didn’t prime my wicks and was still happy with the results. If you do want to prime them though, here’s how to do it:
- Place the wick into the melted beeswax. Remove once you no longer see air bubbles coming out of it.
- Allow the excess wax to drip back into the pitcher of melted wax.
- Lay the wick onto a parchment paper lined tray to dry and harden for several hours.
- Use as directed for homemade candles.
Which Jars Should I Use?
The easiest option here is to use half-pint mason jars since that’s what worked best with the oil to wax ratio and wick size. If you want to use a different size jar just make sure it’s heat safe. It may take some experimenting to find the right wick size.
Have you given up scented candles? Ever considered making your own beeswax candles?
Leave a Reply