
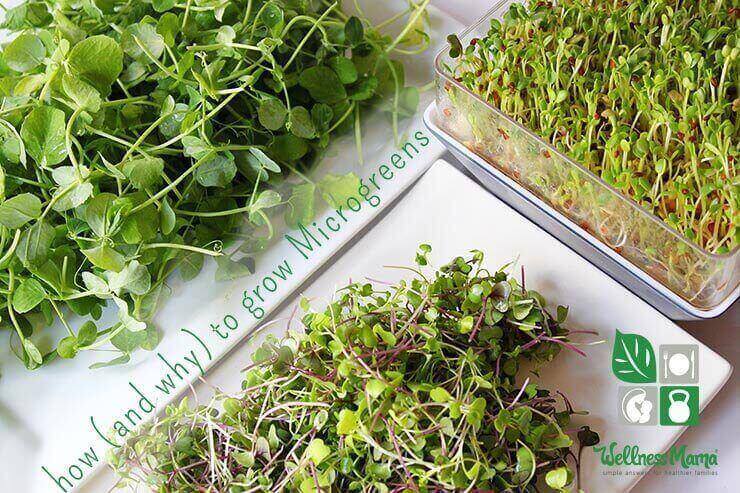
Microgreens are all the rage lately. They are similar to sprouts, but require soil and sunlight (or a grow light) to grow.
What are Microgreens?
As the name suggests, microgreens are just miniature plants of greens, herbs, or other vegetables. Like sprouts, they are a concentrated nutrient source and packed with beneficial enzymes because of their rapid growth.
Though they are often seen in dishes at gourmet restaurants because of their delicate flavor and sophisticated presentation, they are simple to grow on your own and cost very little once you have the supplies. With the right tools, you can have a year-round vegetable source on your kitchen counter.
Microgreens also solve the problem of the potential for bacteria growth in sprouts (though it is very rare) because they are grown in an open-air environment and in soil. Unlike sprouts, only the stem and leaves are eaten, not the seed and root.
What to Grow?
The most common plants used for growing microgreens are:
- Lettuce
- Kale
- Spinach
- Radish
- Beet
- Watercress
- Herbs
- Greens
- Cabbage
- Mustard
- Chia
- Sunflower
- Buckwheat
Any edible plant that is entirely edible (root to leaves) can technically used, but the ones above are the most common and taste the best. Microgreens add beautiful color and great flavor to salads and are an excellent garnish for meats and other dishes.
Microgreen Growing Supplies:
- A shallow tray of some sort
- Organic soil to fill the tray
- A warming mat to speed germination (optional)
- A grow light or a sunny spot in a south-facing window (optional)
- Microgreen Seeds (like these)
How to Grow Microgreens:
- Find a south-facing window with plenty of sunlight or install an inexpensive growlight. I’ve found that a growlight mounted under kitchen cabinets works perfectly for growing greens on the counter if you have the space to do it. In warmer months, these can also be easily grown outside.
- Place an inch of organic potting soil in the bottom of a shallow tray or planter and smooth out to be as even as possible. Alternately, clear an area of your garden for growing microgreens.
- Scatter seeds over the surface of the soil evenly. You will spread more seeds than you would if just planting the seeds to grow to full size, since they will only get 1-2 inches tall and you want to harvest as many as possible from each tray. TIP: Soaking the seeds overnight will speed sprouting time, but make it more difficult to scatter them.
- Cover the seeds with a thin layer of soil and spray the surface with clean, filtered water. I use an upcycled glass vinegar bottle with a misting spray top.
- Place on the warming mat, if using, and under the grow light or near the window.
- Mist the seeds a couple of times a day to keep the soil evenly moist while waiting for the seeds to germinate.
- Greens are usually ready to harvest in 2-4 weeks, depending on the type of seed used.
- To grow another crop, either remove the roots and replant or dump the entire tray in the compost and fill with more soil to replant. If you dump in the compost, some straggler seeds usually volunteer and make a crop of their own a few weeks later.
To use: Cut microgreens right above soil level with kitchen shears. Rinse with filtered water and add to salads or to garnish almost any dish.
Ever grown anything inside?
Leave a Reply